
How to Remove Background from Image: A Complete Step-by-Step Guide
- August 19, 2026
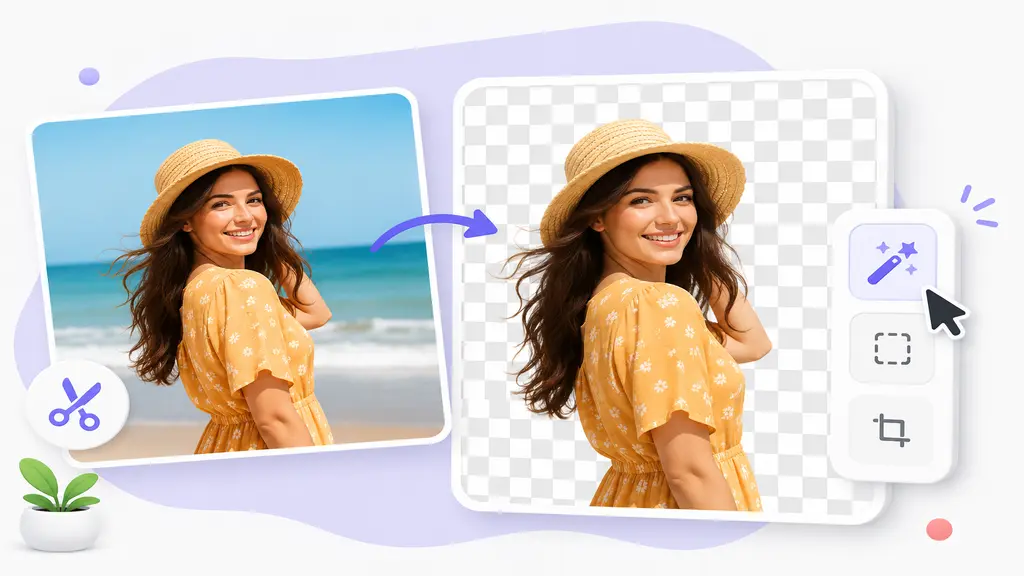
So you took a decent photo, but the background is kind of ruining it. A messy table behind your product shot, a random stranger walking through your portrait, or just a background that clashes with what you’re trying to sell online — sound familiar? If you’ve typed “how to remove background from image” or “how to remove background from photo” into Google recently, you’re definitely not the only one. It’s one of those things almost everyone editing photos runs into sooner or later.
Here’s the thing though — removing a background isn’t nearly as hard as the endless list of tools and tutorials online makes it seem. In this guide, we’ll go through how to remove background from image and photo files step by step, cover both free options and the more “professional” route, and help you figure out which one actually makes sense for what you’re doing. One photo for your Instagram post? Different story than editing 300 product shots for your store.
What Is Background Removal?
Basically, background removal means separating your subject — could be a person, a product, whatever — from everything else behind it. Once that separation happens, you can delete the background entirely, drop in a solid color, swap it for a completely different scene, or make it transparent so the subject can sit on top of anything.
It’s not just a nice-to-have edit either. This is one of the most common requests in eCommerce photography, portrait retouching, and honestly a big chunk of graphic design work in general. If you’ve ever wondered how do I remove the background of an image and actually get a clean result (not a sloppy one), this is the technique.
There are really two paths here: automated tools that use AI to guess where your subject ends and the background begins, or manual editing where someone traces the outline by hand — often called a clipping path. Both get used a lot, just for different situations, and we’ll get into when each one makes sense.
Why Remove Background from a Photo?
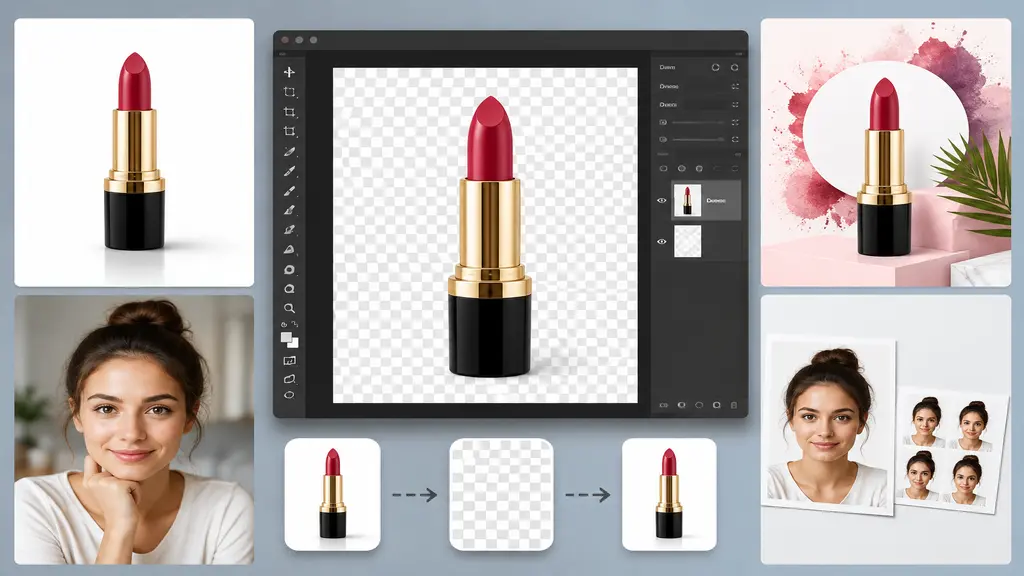
Before getting into the actual steps, it’s worth knowing why people bother with this in the first place. A few common reasons:
- Selling online — Amazon, eBay, Shopify — most marketplaces want a plain white or transparent background on product photos, and some outright require it.
- Portraits and profile pictures — A busy background pulls attention away from the person, which defeats the point of the photo.
- Design work — Designers isolate subjects all the time so they can drop them into posters, ads, thumbnails, whatever the project needs.
- Passport or ID photos — These need a solid, even background, no exceptions.
- Combining photos into one image — If you’re building a composite, step one is almost always pulling each element off its original background.
If any of that sounds like your situation, keep reading.
Remove Background from Image for Free
If you’re not a designer and just need something quick, free online tools are probably where you should start. The process generally goes like this:
- Upload your photo to a background remover site — there are quite a few, and most of them work in a similar way.
- The tool’s AI scans the photo and picks out the subject automatically. This usually only takes a few seconds.
- You’ll get a preview, typically with a transparent checkerboard pattern where the background used to be.
- Download it — as a PNG, ideally, so the transparency actually sticks.
This is basically the answer to how to remove background from image free of cost, and honestly, it does a decent job on simple photos — a single product on a plain surface, a person against a flat wall, that kind of thing. Where it falls apart is accuracy. Free tools still struggle with tricky details like flyaway hair, fur, glass, or jewelry. You’ll often notice leftover bits of background still hanging around, or edges that look a little chewed up, especially with curly hair.
For personal stuff, that’s usually fine. If it’s for a business — product photos customers are going to zoom in on — it often isn’t good enough.
Remove Background Using Photoshop
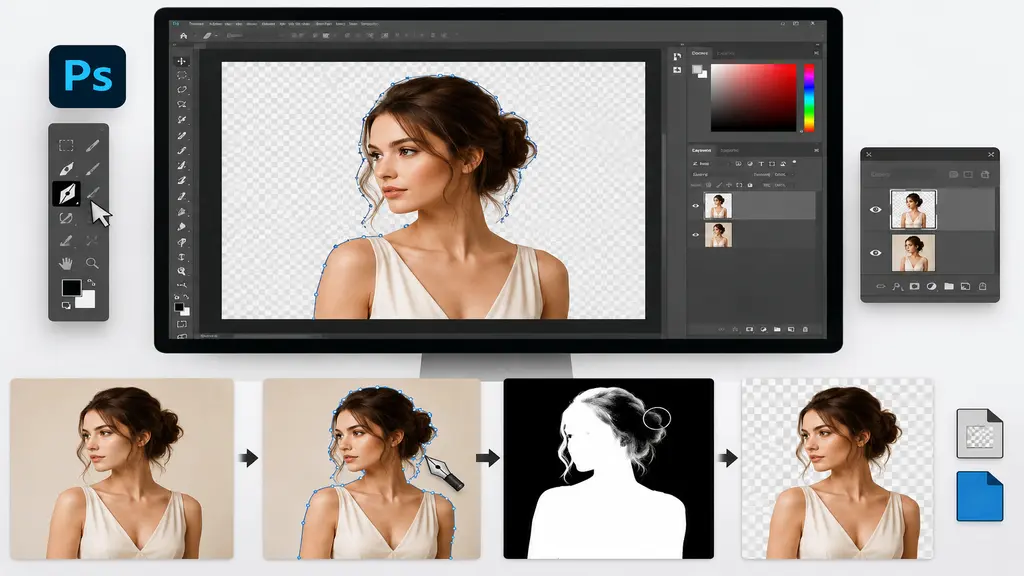
If you want more control over the result, Photoshop is still the go-to. Here’s the short version of how it’s usually done:
- Open your image and duplicate the background layer first, so you’ve got the original to go back to if something goes wrong.
- Trace around your subject with the Pen Tool for the most accurate outline, or use Select Subject plus Select and Mask if you want something faster and semi-automated.
- Clean up the edges in the Select and Mask panel — pay extra attention around hair or any soft, blurry edges.
- Remove or mask the background, then export as PNG or PSD depending on where the file’s going next.
It takes longer to get comfortable with than the online tools, sure, but you get precision that automated software just can’t match yet. This is basically the same technique used in professional clipping path work — every edge drawn by hand instead of guessed by an algorithm.

Remove Background from Photo on Mobile
Not everyone’s sitting at a desktop when they need this done. If you’re trying to figure out how to get rid of the background of a picture right from your phone, there are a bunch of apps that make it pretty painless:
- Open the app, pull the photo in from your gallery.
- Hit auto-detect and let it remove the background on its own.
- Go back and manually fix anything it missed — most apps have an eraser or restore brush built in for exactly this.
- Export with a transparent background, or swap in a new one right there in the app.
It’s convenient, no doubt, but smaller screens make it easier to miss small mistakes around the edges. Worth zooming in before you call it done, especially if the photo’s going to be used for anything beyond casual posting.
Remove Background Manually: The Clipping Path Method
For photos where accuracy actually matters — jewelry with fine details, furniture with sharp straight lines, clothing with visible stitching — manual clipping path editing is still the most dependable option out there. Instead of an algorithm guessing the outline, a trained editor traces the exact shape of the subject by hand using vector paths.
It’s slower, no question, but the difference shows. Edges come out crisp, there’s no leftover background residue, and the image can be resized or dropped onto a new background without losing quality. That’s why a lot of eCommerce brands and photography studios still lean on manual clipping paths instead of fully automated software, even with how far AI tools have come.
Common Background Removal Mistakes
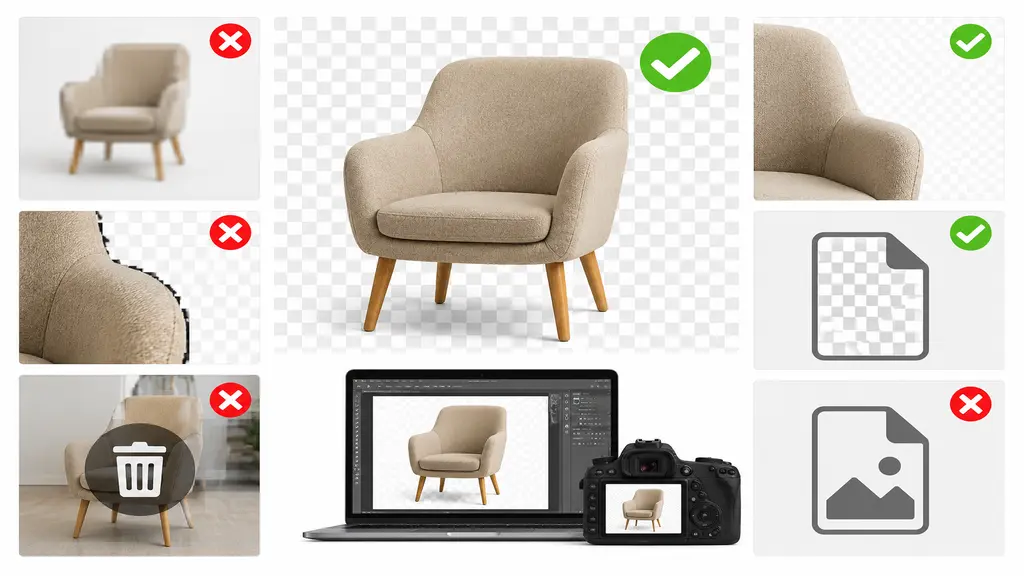
A lot of the frustration people run into comes down to small, avoidable stuff. Keep an eye out for these:
- Starting with a low-resolution photo — Tools (and human editors, honestly) can only work with what’s there.
- Skipping edge refinement — Rough, jagged edges are one of the fastest ways to spot a badly edited photo.
- Not keeping a backup of the original — Once a layer gets flattened or overwritten, going back gets messy fast.
- Exporting in the wrong format — PNG keeps transparency, JPG doesn’t.
- Depending only on free tools for business use — Fine for personal photos, riskier for anything customers will actually see.
When to Hire a Background Removal Service
If you’re dealing with dozens or hundreds of product photos, doing this by hand every time just isn’t practical — and free tools won’t give you the kind of consistency a growing brand needs across an entire catalog. This is exactly where a dedicated background removal service starts to make sense. A professional team can handle bulk editing with consistent, precise results and a quick turnaround, so you’re not stuck spending your evenings fixing edges in editing software.
This route works especially well for eCommerce sellers, photographers, and agencies who need reliable output at scale without the quality dropping off.
Conclusion
Figuring out how to remove background from image files really doesn’t need to be complicated. Free tools work fine for quick, casual edits. Photoshop and manual clipping paths give you way more control when the details actually matter. And once volume or quality standards go up, handing it off to professionals usually saves more time than it costs.
Whatever method fits your situation, the key is just matching the tool to the job — a quick Instagram post doesn’t need the same level of precision as a product photo someone’s about to zoom in on before buying.
