
How to Photograph Clothing on a Mannequin: A Step-by-Step Guide for Better Sales
- August 19, 2026
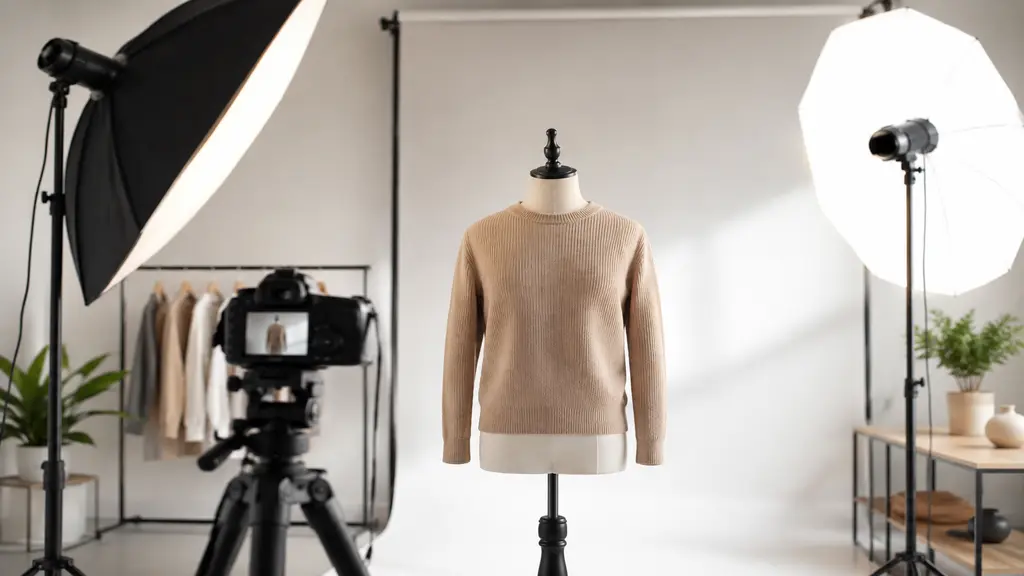
Nobody touches your product before they buy it. They can’t feel the fabric, can’t check how it hangs, all they’ve got is the photo you gave them. So if that photo looks amateur, you’ve probably lost the sale before they even read the description. That’s why so many small brands spend time figuring out how to photograph clothing on a mannequin properly, it gets you a real, dimensional look without paying a model for every single item.
This isn’t complicated once you break it down. Gear, lighting, a few camera settings, dressing the mannequin so it doesn’t look stiff or lopsided, and cleaning things up after. Go through it once and you’ll have a decent grip on how to photograph clothing on a mannequin, even shooting out of a bedroom corner with one window for light. That’s honestly how a lot of stores start out.
What Is Mannequin Photography?
Pretty much what the name says, you dress a form instead of a person and shoot from there. A flat lay can look fine for some things, but it can’t show weight or drape the way a shaped form does. Clothes just sit differently on a body-shaped surface, and buyers can tell.
Money’s the first reason people switch to this method. No model fee, no makeup, no chasing three people’s calendars to line up one shoot. You dress the form whenever works for you, adjust it till it looks right, done.
But the bigger win, and people miss this one, is that everything ends up looking the same. Same light, same background, same framing, item after item. Doesn’t sound huge until a customer scrolls through your whole catalog in ten seconds and it either feels like one store or five different ones stitched together.
What You Need Before You Shoot
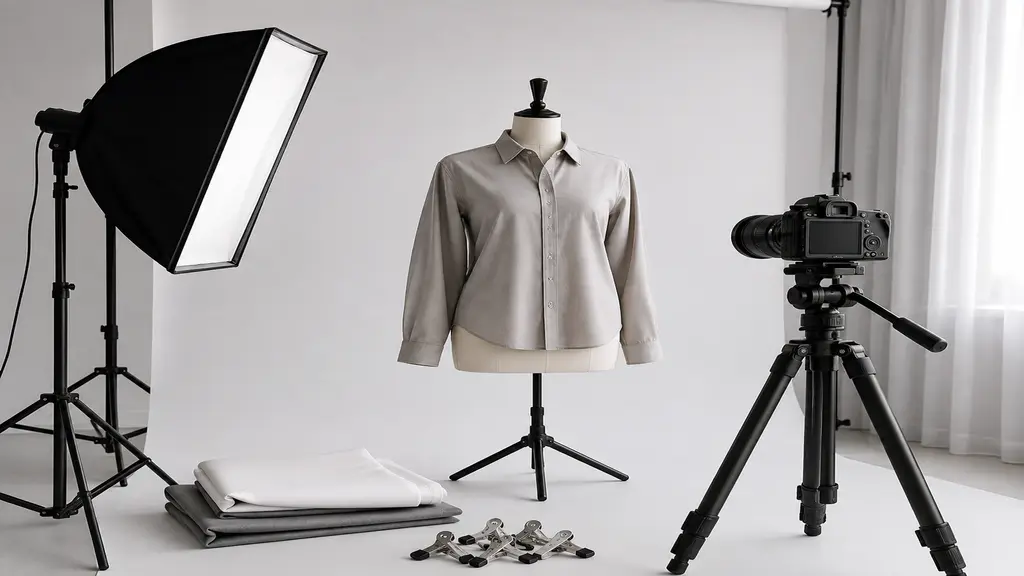
Skip a piece of this list and odds are you’re reshooting later. That costs more time than getting it right once.
- A mannequin close to your actual sizing: buying the wrong size form trips up more sellers than you’d think. Adjustable ones cost a bit more, worth it if you carry more than one size.
- Some kind of camera with manual control: a phone gets you started fine, but once you’re shooting regularly a DSLR or mirrorless just gives more consistent output.
- A tripod. Not optional really: handheld shifts a little every time, and across a full catalog that inconsistency adds up fast.
- Soft light, from a softbox or just a decent window: doesn’t matter much where it comes from as long as it’s not harsh. Harsh light flattens fabric and creates weird shadows nobody wants.
- Plain backdrop, white or grey usually: patterns or busy backgrounds fight the clothes for attention and the clothes should win that.
- A handful of small clips: cheap, small, and they’re the whole reason a shirt looks fitted instead of baggy from the front.
Best Camera Settings to Use
Don’t overthink this bit, a few settings cover most of it.
- Aperture between f/5.6 and f/8: keeps the garment sharp from edge to edge without the shot looking harsh.
- ISO around 100 to 200: less grain, colors closer to what the fabric actually looks like in hand.
- Shutter speed of 1/125 or faster: covers you if the mannequin shifts even slightly mid-shoot.
- White balance set to daylight or a custom reading: get it close in-camera and there’s a lot less fixing later.
If your camera does RAW, use it. JPEGs throw away detail on compression, RAW hangs onto it, which matters once you start adjusting exposure or color.
How to Light a Mannequin Photo
Lighting trips up more beginners than anything else on this list. Flat light kills all the texture, and it throws these small ugly shadows around buttons and seams that are a pain to fix afterward.
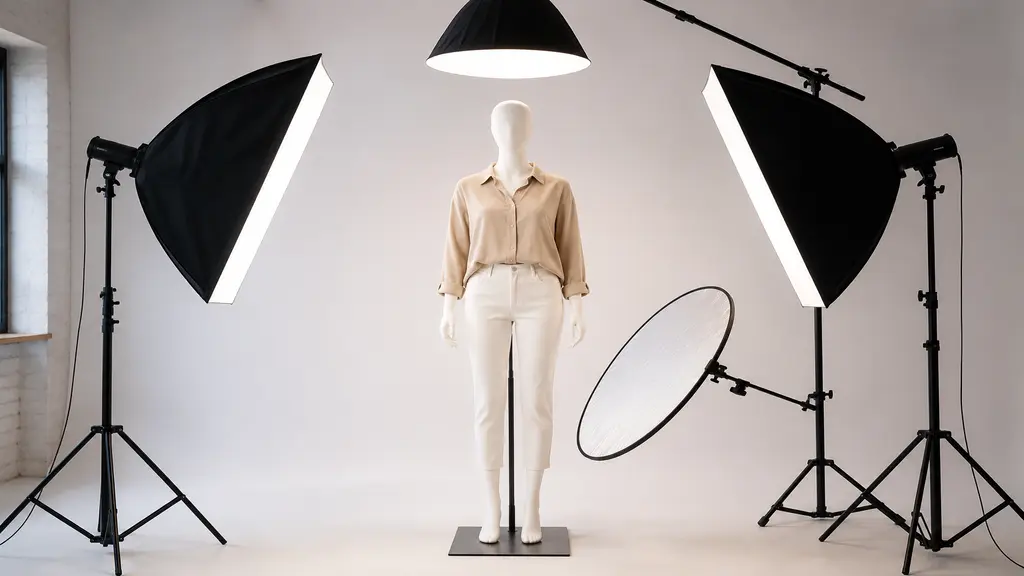
- Two softboxes, roughly 45 degrees on either side: keeps one side from looking darker than the other, which happens more than people expect.
- A third light from above for longer items: coats, dresses, anything long. Skip it and shadows pool near the shoulders.
- A white reflector on the darker side: cheapest item on this whole list and it earns its place every time.
- Nothing pointed straight down from overhead: it digs deep shadows under the collar and sleeves, genuinely annoying to edit out.
Window light does the job too, especially around midday when it’s more spread out. Just leave a little distance between the mannequin and the glass, or one side blows out while the other stays dark.
How to Photograph Clothing on a Mannequin: Step by Step
- Dress the mannequin properly, don’t rush this part: smooth every wrinkle, do up all the buttons, let the fabric fall the way it naturally would. Steam it first if it’s creased.
- Pin the back to tighten the front: a couple of clips at the rear and the front view suddenly looks fitted instead of loose and shapeless.
- Set the tripod around chest height: shoot roughly level with the middle of the garment, angling up or down warps things more than most people realize.
- Get every angle you can: front, back, both sides, plus a close-up or two on stitching or any detail worth showing off.
- Glance at the histogram between shots: cheaper to fix now than to find out after the whole shoot’s wrapped.
- Shoot a few test frames and actually check them properly: bigger screen if you have one nearby. A camera’s own display hides problems a monitor won’t.
- Keep the exact same angles and distance for every piece: tedious, sure, but it’s what makes a full catalog feel like it came from one shoot, not five.
Common Mistakes to Avoid
A few of this show up over and over, worth a quick check against your own setup.
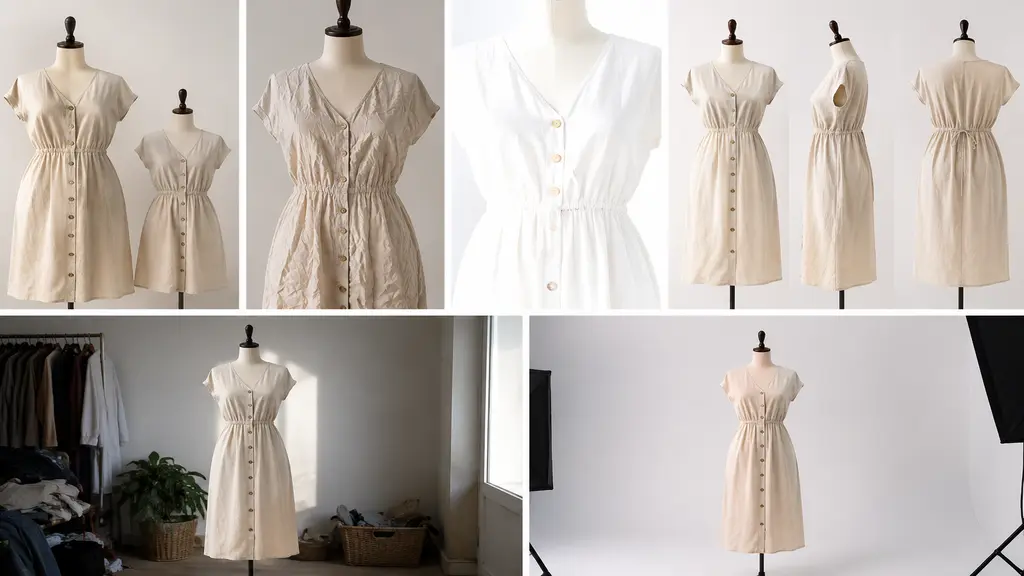
- Wrong size mannequin: too big or small and the fit reads wrong to anyone browsing, even without meaning to mislead.
- Skipping the iron or steamer: creases that barely register in person show up much worse once photographed.
- Overexposing light fabrics: push it too far and the texture just vanishes into a flat white shape with no detail left.
- Missing the back or side views: buyers want to see the whole thing, not just the one flattering front angle.
- A messy or shadowy background: pulls attention off the clothing, which is the one thing you don’t want.
Getting a Clean Background
Even when the lighting’s dialed in, a slightly uneven or shadowed background can still hold a photo back. A lot of sellers shoot against something plain and then clean it up afterward, going for that pure white, ready-for-marketplace look that places like Amazon and Shopify tend to expect.
If that whole step feels like more trouble than it’s worth, a proper background removal service can just handle it for you. Saves you from learning masking on top of everything else you’re already doing to run the store.
Editing Tips After the Shoot
This part turns an okay photo into one that actually belongs on the product page.
- Sort out white balance first: fix the color cast before touching anything else, otherwise you’re editing on top of a wrong base.
- Use one crop ratio across everything: consistency here does more for the catalog than people give it credit for.
- Clean up stray threads and clip marks: small, but shoppers notice it even when they can’t say exactly what looked off.
- Handle shadows and highlights separately: brings the texture back without just brightening the whole frame and washing out detail.
- Export at a sane file size: small enough to load fast, not so compressed it turns soft on the page.
If editing every single photo eats up too much of your week, handing that part off frees up time for the parts of the business that actually need you.
Conclusion
Once you’ve actually got a handle on how to photograph clothing on a mannequin, the whole store looks different. Real shape on every listing, a consistent feel across the catalog, and none of the cost that comes with booking a model each time. Get the lighting sorted, follow a process you can repeat without overthinking it, and clean up the small stuff afterward, backgrounds, stray threads, shadows, all of it. Keep that up and your photos start holding their own next to the bigger stores, and that’s usually enough to turn a scroll into an actual sale.
