
How to Invert Colors in Photoshop: A Simple Step-by-Step Guide
- September 11, 2026
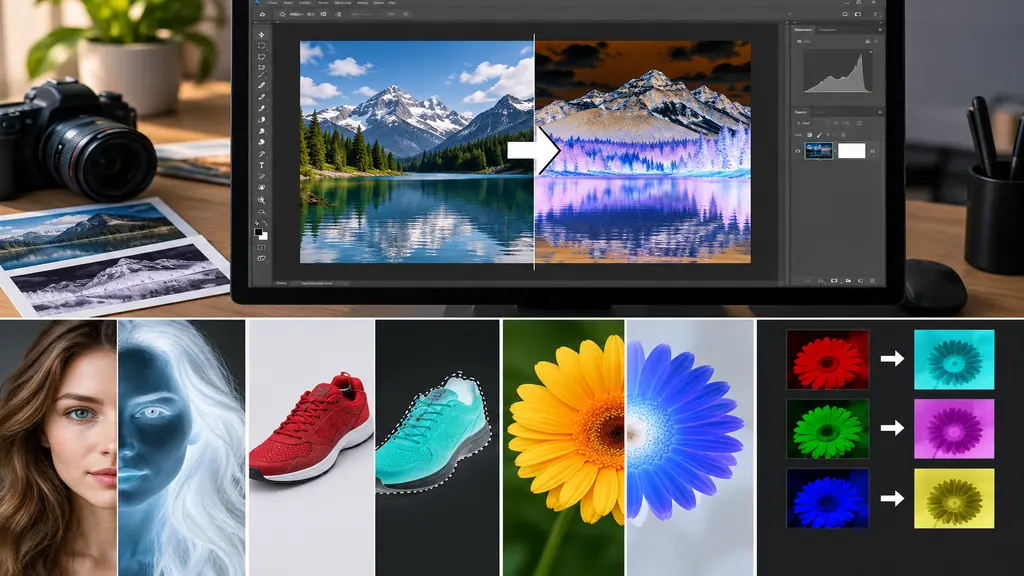
You opened a photo and thought, wait, this would look way cooler as a negative. Or a client sent over a file in the wrong color mode and just told you to fix it. Either way, if you’ve typed “how to invert colors in Photoshop” into Google, good news — it’s really not complicated. Once you know where to click, the whole thing is over in a couple of seconds.
There’s more than one way to do this in Photoshop, by the way. Sometimes you want the entire image flipped in one click. Other times it’s just a small selection, or maybe a single color channel. This guide covers the methods people actually use in real editing work, when each one makes sense, and a couple of mistakes that trip up beginners more often than you’d think.
Stick with this to the end and you’ll know how to invert colors in Photoshop for pretty much anything — product shots, x-ray-style effects, an old scanned negative, or just messing around out of curiosity.
What Is Color Inversion?
Inverting flips every pixel to its opposite on the color wheel. Black goes to white. White goes to black. Red flips to cyan, blue flips to yellow — every color swaps for its complementary shade, basically.
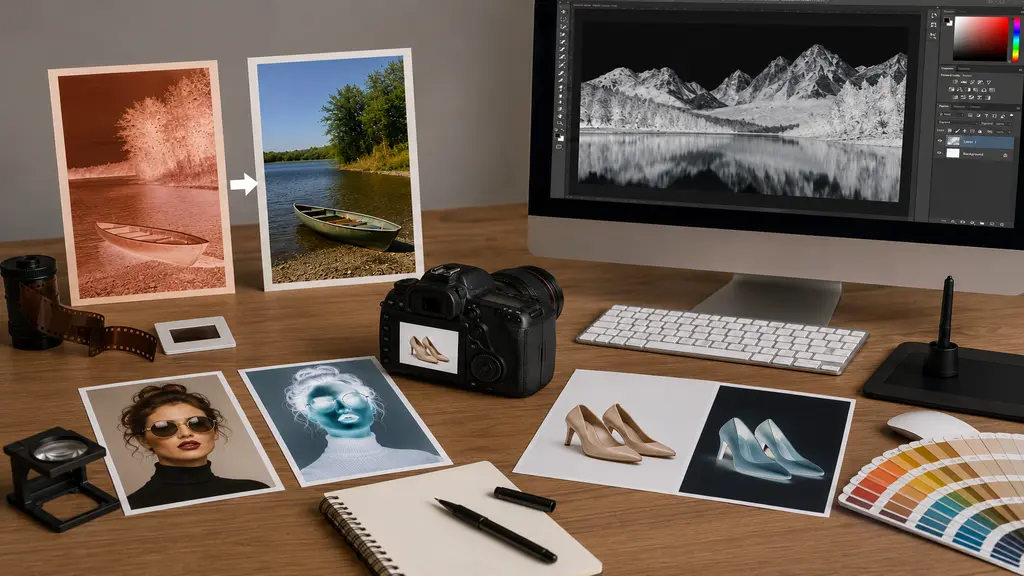
Photographers use this a lot when scanning old film negatives, since it’s really the only way to get true colors back. Designers reach for it too, mostly for that punchy negative-film look you’ll spot on gig posters or moody portrait edits. Some editors just flip the colors for a second, honestly, purely to catch flaws like dust or uneven tones that are almost invisible otherwise.
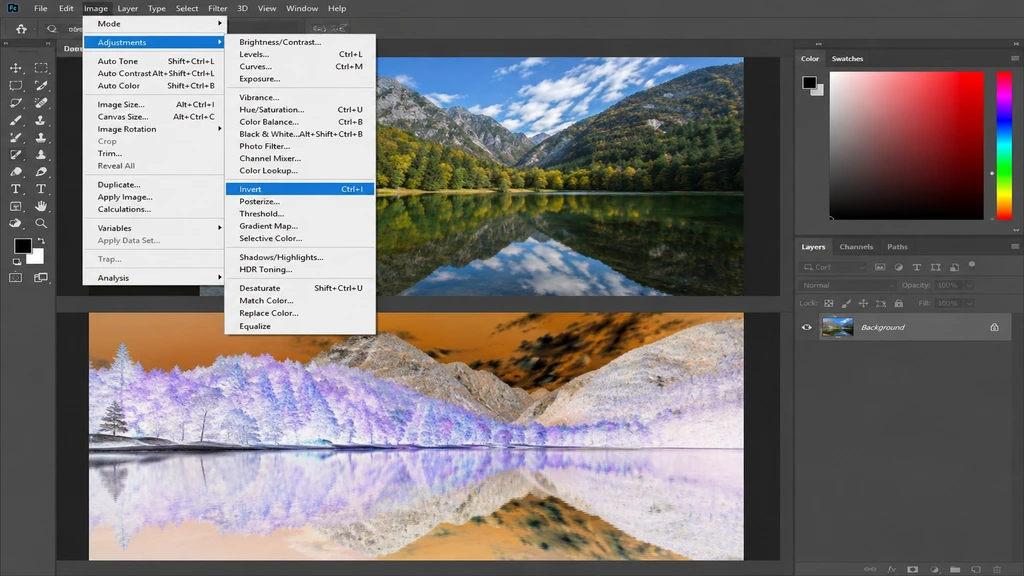
Whatever brought you here, the tool sits in Photoshop’s Adjustments menu, under Invert.
Why Invert Colors?
A quick rundown of why this actually comes up in everyday work:
- Fixing scanned negatives. Old film scans almost always come out reversed, and one click sorts it.
- Creating bold effects for posters, album art, or that striking negative look you see on social content.
- Catching mistakes — flip the colors and dust spots or uneven tones suddenly stand out.
- Masks and channels get inverted a lot too, it’s a normal step in plenty of compositing work.
- And sometimes an invert just gets you close to a brand’s color palette without redoing the whole edit.
Quick Invert Method
This is the fastest option, and it’s the one most people are actually after:
- Open your image in Photoshop.
- Click the layer you want changed, in the Layers panel.
- Go to Image > Adjustments > Invert, or just hit Ctrl+I (Windows) / Cmd+I (Mac).
- Colors flip instantly. Done.
Nothing selected? The whole layer inverts. Made a selection first? Only that part changes. Keep in mind this edit changes the actual pixels right away — it’s not sitting in a separate layer you can switch off later.
Use an Adjustment Layer
If you’d rather keep things flexible — turn the effect off later, apply it across a few layers, leave the original file untouched — this is the better option.
- Open the Layers panel.
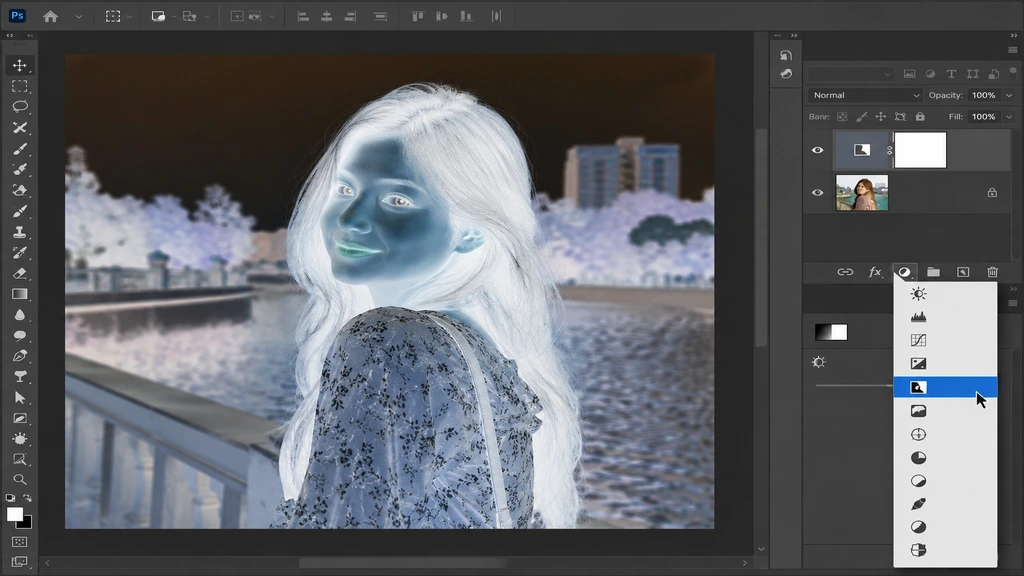
- Click the half-black, half-white circle icon near the bottom.
- Pick Invert from the list.
- A new adjustment layer shows up above your image.
- Toggle it, lower the opacity, delete it whenever. The original stays safe either way.
Client work especially calls for this route. Someone will probably ask for a change later, and you’ll be glad the effect isn’t baked into the pixels.
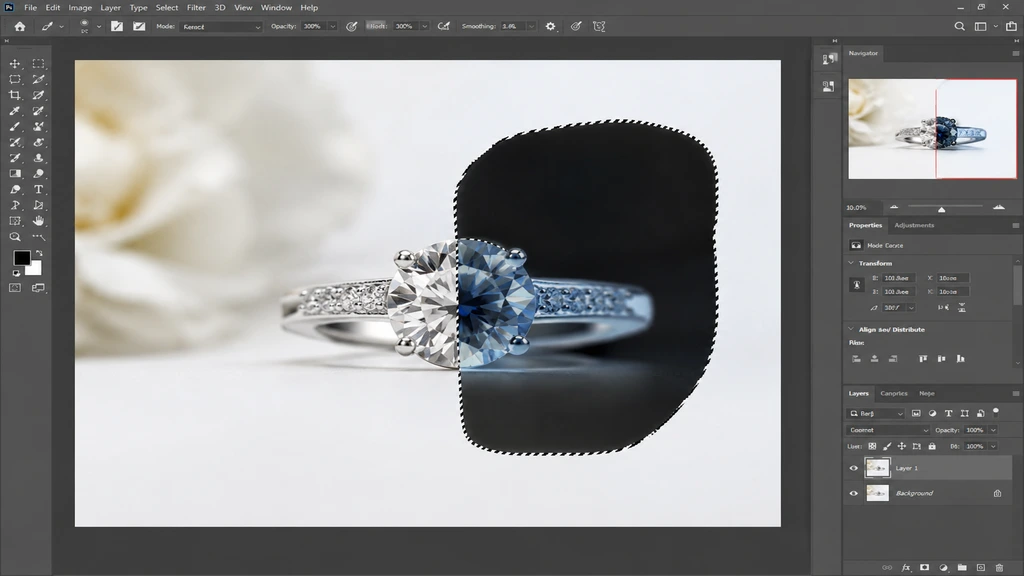
Invert Part of an Image
Not every job needs the whole picture flipped. Maybe it’s a shirt. Maybe just the background, or a single label on a product shot.
- Grab the Lasso Tool, Quick Selection Tool, or Pen Tool and select the area.
- Press Ctrl+I (or Cmd+I).
- Only the selected part flips. Everything else stays untouched.
Comes up a lot in product editing — one element needs a different tone while the rest of the shot has to stay exactly as it was.
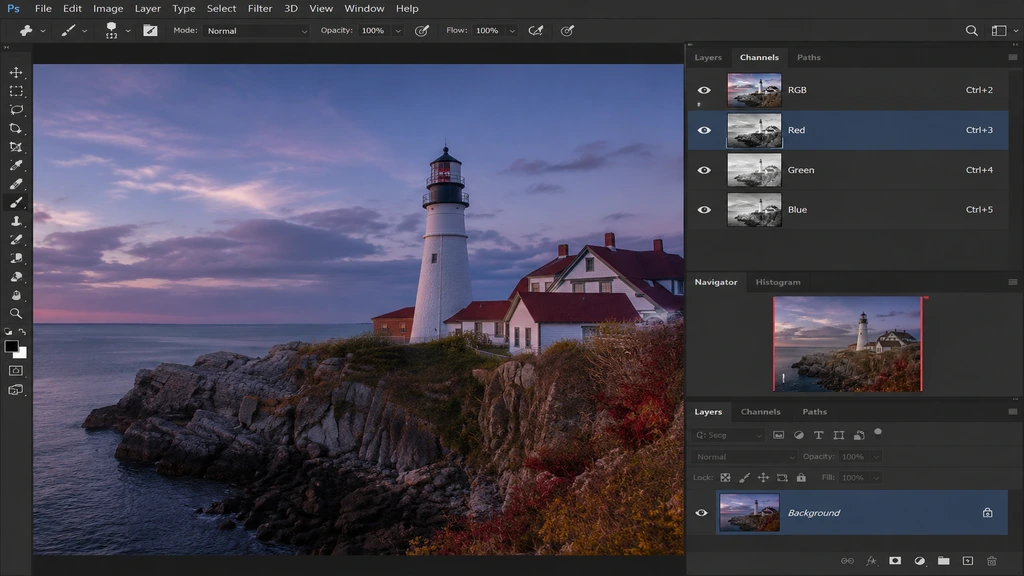
Invert a Color Channel
For finer control, you can invert just one channel — Red, Green, or Blue — rather than the whole image at once.
- Head to Window > Channels.
- Click the channel you want. Red, say.
- Hit Ctrl+I to flip only that one.
- Switch back to full RGB to see it all combined.
Mostly used for color grading by more advanced editors. Everyday photo work rarely needs it, but it’s worth knowing it exists.
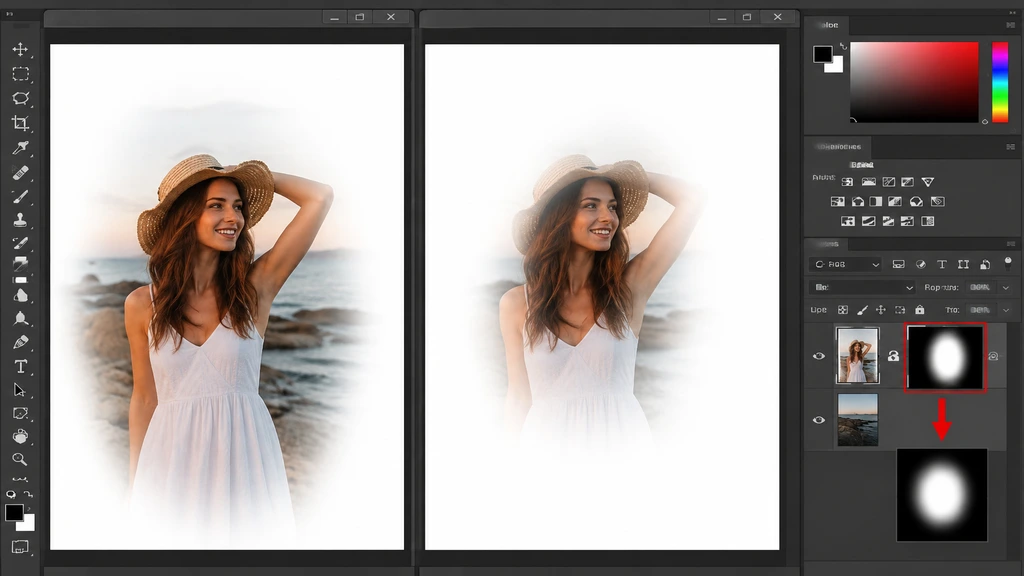
Invert a Layer Mask
A layer mask decides what’s visible and what isn’t. Invert it and the whole thing flips — hidden areas appear, visible ones disappear.
- Click the mask thumbnail in the Layers panel.
- Press Ctrl+I.
- Whatever was hidden now shows. Whatever was visible is gone.
Small move, but editors use it constantly, especially when combining images or cutting subjects out for clean product shots.
Common Mistakes
It’s a simple tool, but people still get tripped up. Worth double-checking a few things:
- Clicking the wrong layer before inverting. Easy slip, annoying to fix.
- Applying invert straight onto a background layer without duplicating it first — fine until you close the file and can’t undo it anymore.
- Mixing up Invert with Negative or Solarize filters. Not the same thing, even though the names sound related.
- Skipping the color mode check. RGB and CMYK react differently once inverted, so glance at Image > Mode first.
None of these are huge deals on their own. But on client files or big product batches, one slip means redoing a whole stack of images, and nobody has time for that.
Conclusion
Inverting colors in Photoshop feels intimidating for maybe five minutes, then it just clicks. Rescuing an old film scan, building a bold creative effect, fixing part of a product photo — the Invert tool handles it fast. Use the shortcut for quick jobs, or an adjustment layer when you want room to change your mind later.
If product photography is part of your regular workload, color correction is usually just one step, not the whole job. Pair it with clean backgrounds and solid masking and the final images end up looking noticeably more polished.
