
How to Blur Background in Photoshop and on iPhone (Step-by-Step Guide)
- September 11, 2026
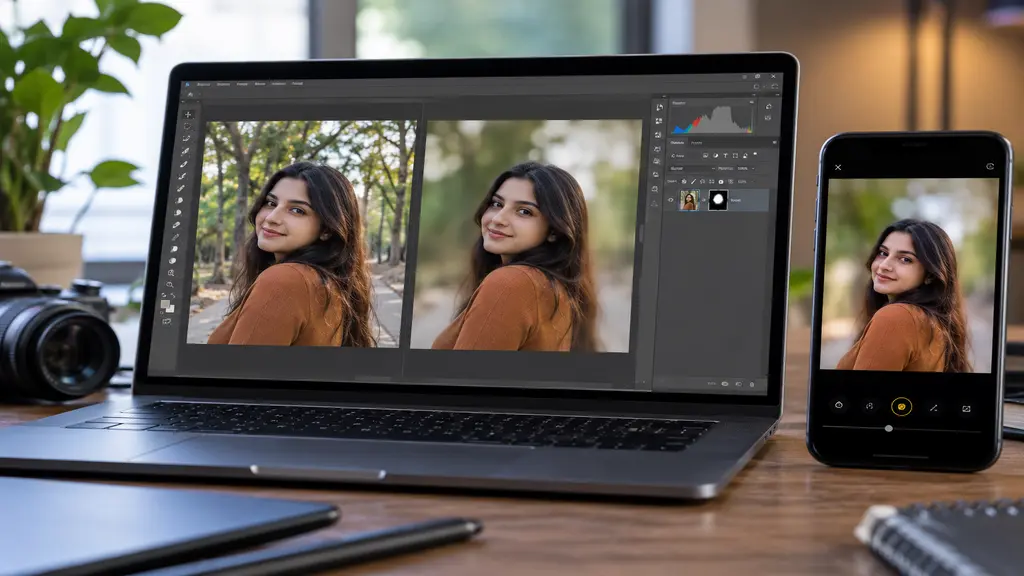
So you’re trying to figure out how to blur background in Photoshop, or maybe you just want to know how to blur the background of a picture on iPhone without installing five different apps for one edit. Fair enough. It’s genuinely one of the easiest ways to make a photo look better in about two minutes flat. A blurred background pulls attention where it should go — onto your subject — and it’s the difference between a photo that looks “taken on a phone” and one that looks intentional.
This guide covers both routes. No jargon-heavy tutorials, no twenty extra steps you don’t need. Just what actually works, whether you’re prepping product shots for a store, fixing up a portrait, or just want your feed to look a bit sharper.
What Is Blur
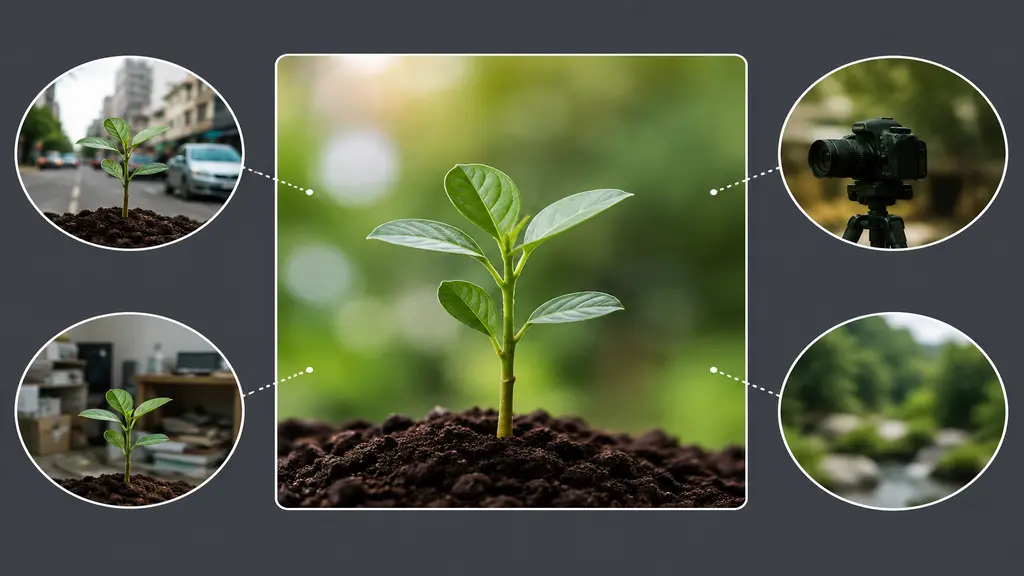
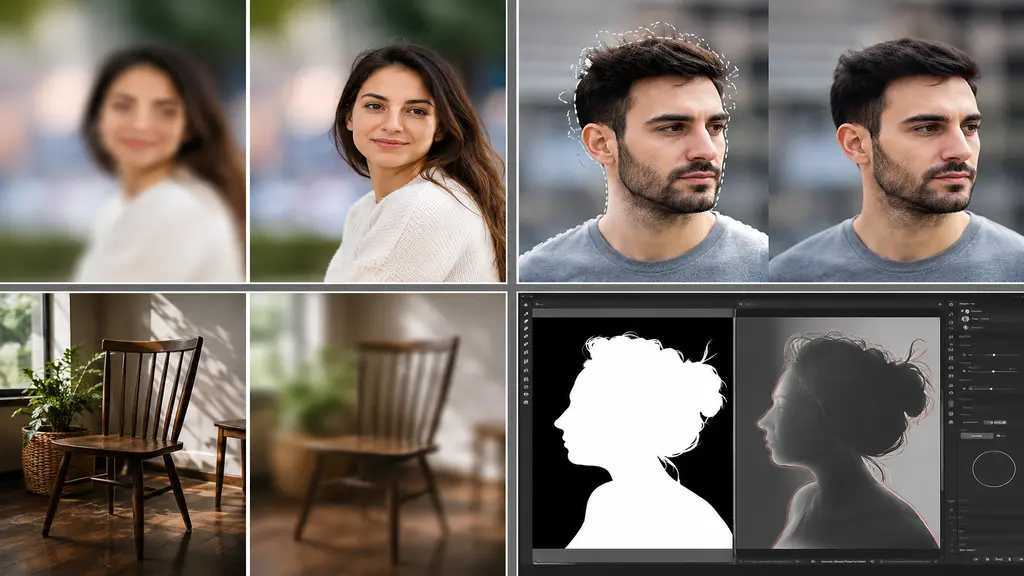
Background blur (photographers call it bokeh, if you’ve ever heard that word thrown around) happens when your subject stays crisp while everything behind it goes soft. Traditionally you’d need a lens with a wide aperture to pull this off naturally. Not anymore, though — Photoshop and the iPhone camera can both fake it, and honestly the fake version holds up pretty well most of the time.
The actual trick is separation. You’re telling the software “this part stays sharp, everything else gets blurred.” Once you see it broken into steps, it’s really not that complicated.
Why Blur It
Quick reason-why before jumping into the how-to, because it changes how much blur you’ll actually want to apply.
- Draws attention to the subject — clears out the visual noise so people look at what matters, not the background clutter.
- Adds a professional touch — product photos and portraits both read as more polished once the background softens up.
- Hides distracting elements — a messy room or a busy street behind your subject basically disappears.
- Creates depth — flat-looking photos suddenly get a sense of foreground and background, which just looks more “camera-shot” than “phone-shot.”
Blur In Photoshop
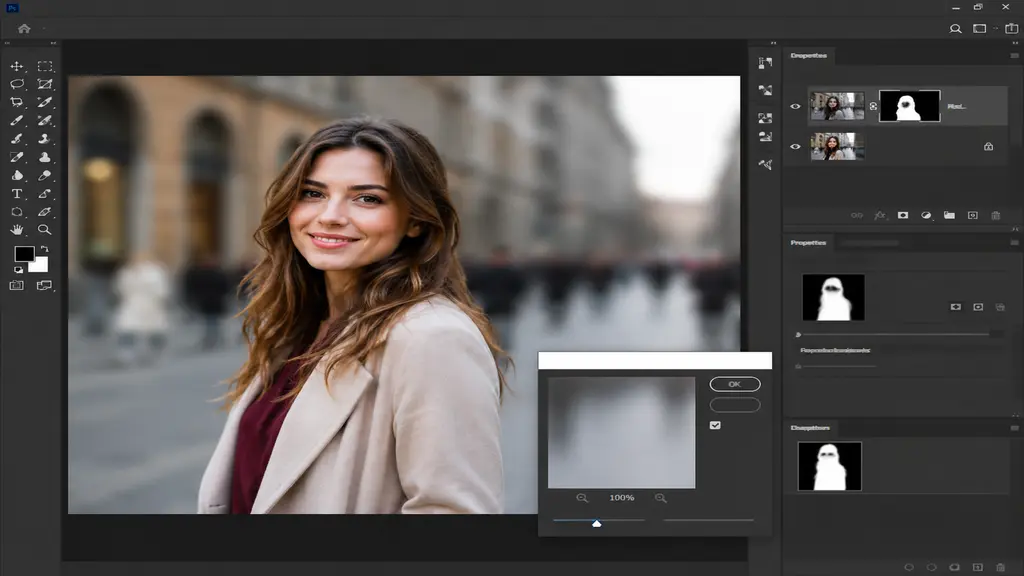
Here’s how to blur background in Photoshop the reliable way — Quick Selection plus Gaussian Blur. Works on pretty much any version, old or new.
- Duplicate your layer first — Ctrl+J (Cmd+J on Mac). Keep the original untouched in case you mess something up.
- Select the subject — grab the Quick Selection tool (W) and drag over what you want sharp. Or just hit “Select Subject” under the Select menu — it’s a shortcut that saves real time.
- Refine those edges — “Select and Mask” is where you clean up hair, stray bits, anything the tool got wrong. Don’t skip this. A messy selection ruins everything downstream.
- Invert the selection — Shift+Ctrl+I. Now you’ve selected everything except your subject.
- Apply Gaussian Blur — Filter > Blur > Gaussian Blur, drag until it looks right. Somewhere around 15–40 pixels is usually the sweet spot, though it depends on your image size.
- Zoom in and check the edges — make sure blur isn’t bleeding onto your subject. Looks good? Flatten and export.
One thing worth saying — don’t go overboard. Too much blur and the photo starts looking edited rather than natural. Less is usually more here.
If you’re doing this for product photos specifically, clean edges matter a lot, and honestly if you’ve got a whole batch to get through, it might just be faster to hand it off. Clipping Creation India’s background removal service does exactly this kind of work day in, day out — worth a look if manual selection on dozens of images isn’t how you want to spend your afternoon.
Blur On iPhone
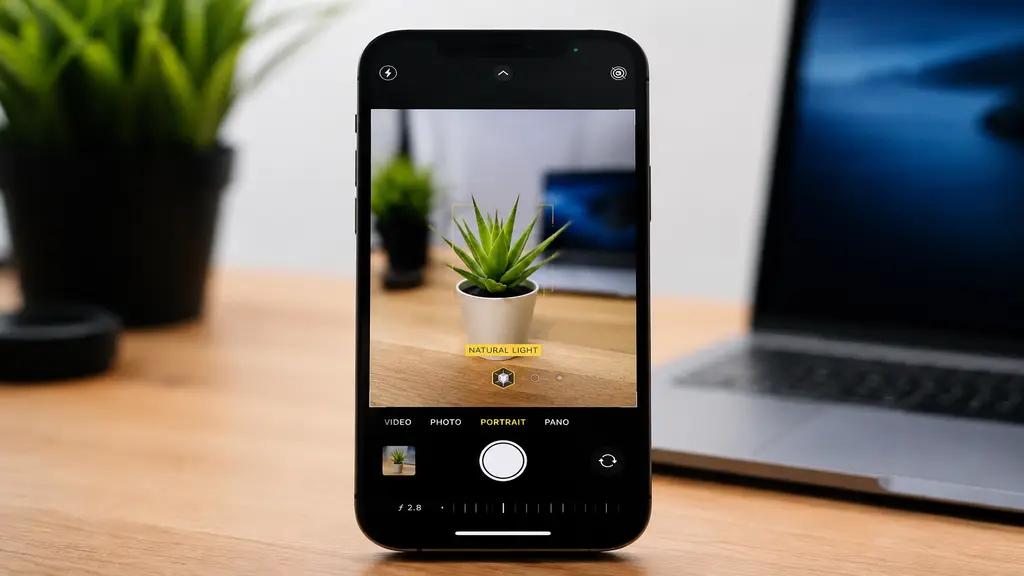
Now for how to blur the background of a picture on iPhone. Turns out Apple already built this in, so no extra app needed for the basics.
Option 1: Shoot in Portrait Mode
- Swipe to Portrait in the Camera app — it detects your subject automatically and blurs behind them as you shoot.
- Adjust the depth effect — tap the little f-number icon to control blur strength, before or after the shot.
- Stay within 2–8 feet of your subject — Portrait Mode gets confused if you’re too close or too far away.
Option 2: Blur something you already shot
- Open it in Photos and tap Edit — if it was captured with a recognized subject, a Portrait option shows up at the top.
- Try a third-party app for older shots — Focos works well, and the Markup blur brush is a decent manual fallback too.
- Keep the original — save a copy before editing so you can always start over.
Not everything qualifies for this trick, to be honest. It works well on people and pets, less so on flat lays or busy scenes with no clear subject. For those, a dedicated blur app or something like Photoshop gives you more control.
Which One To Use
Both get the job done, just for different situations. Photoshop hands you full manual control — exact blur strength, exact edges, pixel-level adjustments if you want to go that far. Comes with a learning curve, though, and it takes longer.
The iPhone option is fast and it’s already in your pocket, which makes it great for casual posts or a quick fix on the go. It does struggle a bit with hair, glasses, thin objects — anything with tricky edges. And once you’re outside Portrait Mode, there’s not much room left to adjust.
For a handful of personal photos, iPhone does the trick fine. For anything client-facing or store-related, Photoshop — or a professional editing team — is the safer bet for consistent results.
Common Mistakes
Same handful of mistakes keep showing up, so worth flagging:
- Going too heavy on the blur — it stops looking like a photo and starts looking like an obvious edit.
- Ignoring the edges — stray hairs or a rough selection line are usually what gives an edit away.
- Using Portrait Mode on the wrong kind of subject — the depth sensor gets confused without a clear person or pet in frame.
- Skipping Select and Mask in Photoshop — this one step is basically the difference between amateur and professional-looking results.
Need Expert Help
DIY works fine for the odd photo here and there. But if you’re managing dozens (or hundreds) of product images regularly, doing this by hand eats up a lot of time you could be spending elsewhere. That’s usually when it makes more sense to outsource — you get consistent quality across the whole batch, faster turnaround, and skip the learning curve entirely. Clipping Creation India handles this kind of background work regularly, so if your photo volume keeps growing, it’s worth at least considering instead of editing every single one yourself.
Conclusion
Blurring a background really isn’t complicated once you know where to click. Photoshop gives you the precision for serious edits, while iPhone’s Portrait Mode gets casual shots looking sharp in seconds flat. Try both and see what fits how you work — and go easy on the blur slider. Natural beats obvious, every time.
