
How to Remove a Person from a Photo: A Simple Guide That Actually Works
- August 22, 2026
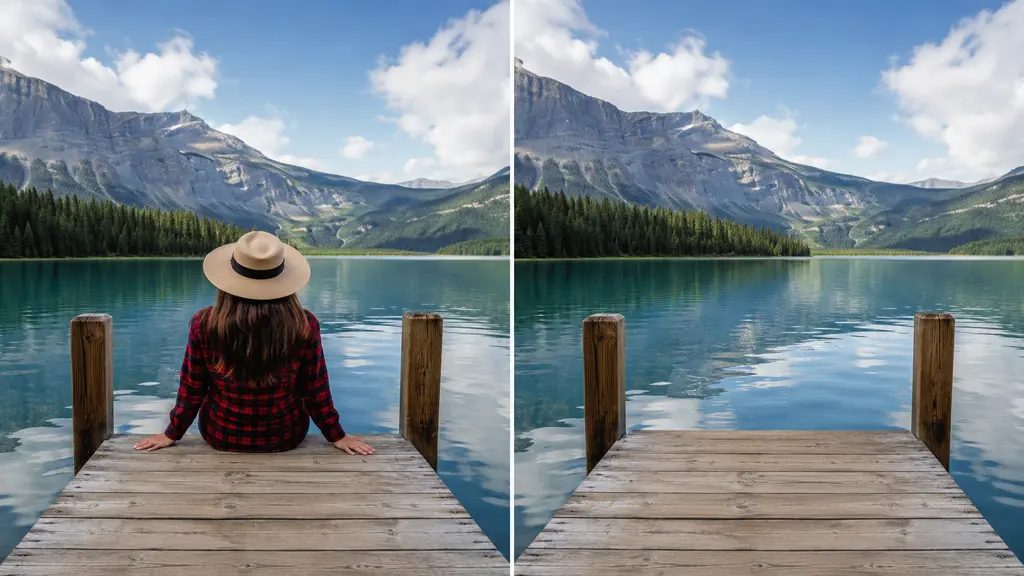
So you finally got a good shot, and then you notice it — some random stranger walked into the background right as you clicked. Or maybe it’s an older photo, one you like, except there’s someone in it you’d rather not see anymore. This happens more than people admit, and thankfully you don’t have to trash the picture. If you know how to remove a person from a photo the right way, you can fix it in a few minutes without it looking edited at all.
This guide covers what person removal actually means in photo editing, why people usually need it, and a few different ways to do it yourself — Photoshop, free apps, all of it. Toward the end, we’ll also talk about when it’s smarter to just let a professional handle it instead.
What Is Photo Person Removal?
At its core, this just means erasing someone from a picture and filling in whatever was behind them so it doesn’t look like anything’s missing. In some cases, you may also need to remove the background from an image completely, especially when the subject needs to be isolated for a cleaner result. Sounds simple, but the hard part isn’t deleting the person — it’s rebuilding the space they were standing in. Could be a wall, a beach, a crowd of other people, a couch, whatever. The editor has to make that space look like it was always empty.
Most tools today combine some automatic fill technology with manual touch-ups to pull this off. Get it right and nobody can tell anyone was ever there. Get it wrong and you end up with a smudgy patch, a floating shadow, or a chopped-off hand that gives the whole thing away instantly.
Why Remove a Person from a Photo
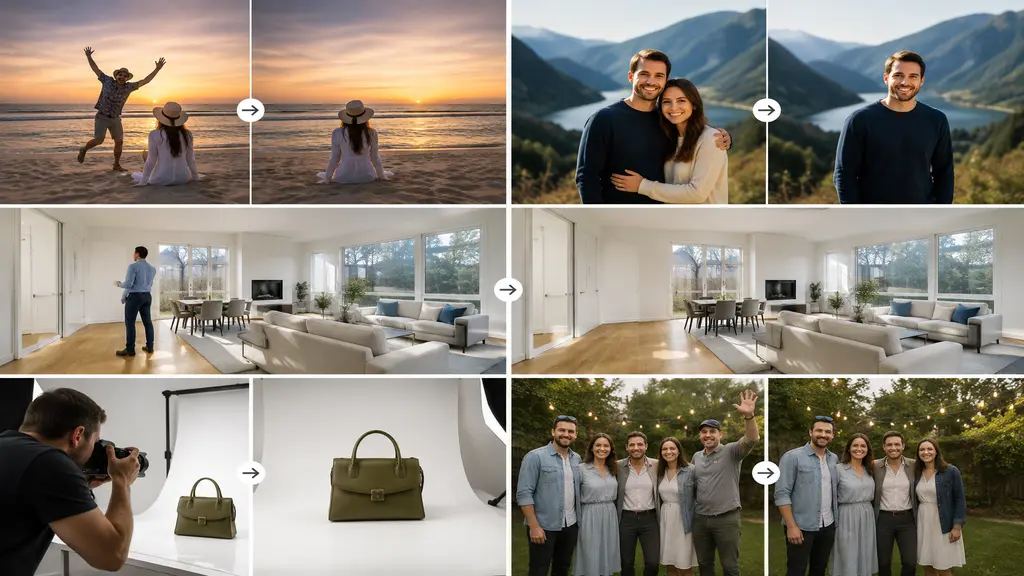
There’s a bunch of reasons people ask for this, and honestly most of them have nothing to do with drama.
- Photobombers. Someone strolls into frame right as you take a vacation shot, and now there’s a stranger in your sunset picture.
- People you’ve drifted apart from. Old couple photos or group pictures where you want to keep the memory minus one person.
- Product photography. A staff member accidentally ends up in a shot that was supposed to be just the product for an online listing.
- Real estate listings. Agents deal with this constantly — people, pets, even reflections showing up in property photos.
- Event and family photos. A great shot ruined because one guest wandered in at the wrong second.
Different situations, same fix: keep the photo, lose whoever doesn’t belong in it.
Remove a Person Using Photoshop
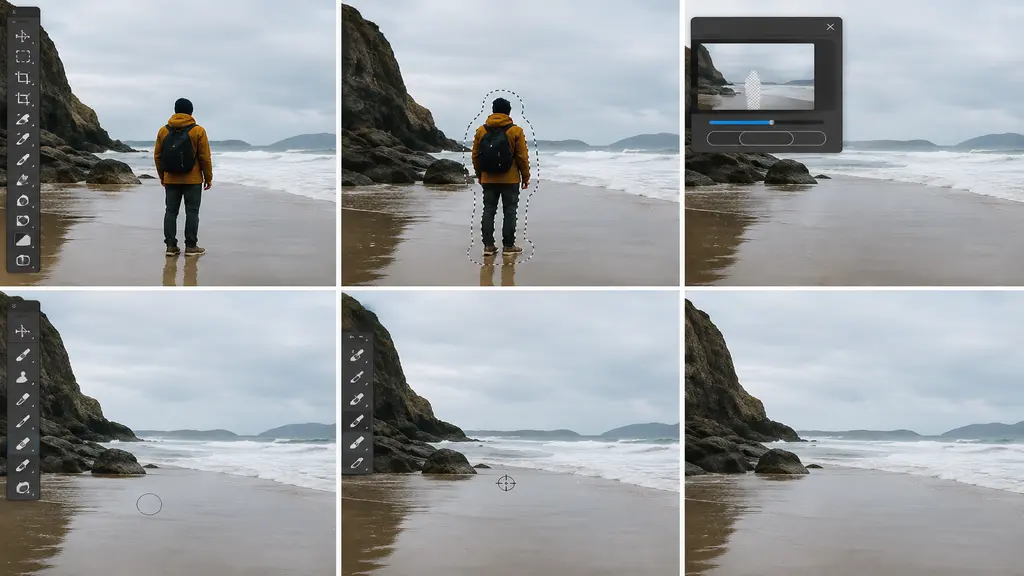
Photoshop’s still the go-to for this because it gives you total control. Here’s roughly how it works:
- Duplicate the layer first: Never edit the original directly — you want an undo option if something goes wrong.
- Select the person: Lasso tool or Pen tool, tracing loosely around them with a bit of extra margin.
- Run Content-Aware Fill: Under Edit, this tool looks at what’s around the selection and tries to rebuild it on its own.
- Clean up manually: The auto-fill rarely nails it completely, so you’ll go in with the Clone Stamp and Healing Brush to fix leftover shadows or texture mismatches.
- Check the lighting: Zoom in close and make sure the patched section actually matches the light and color around it.
This works great on simple backgrounds — sand, sky, plain walls. Busy scenes with patterns or other people in frame take a lot more manual work to look right.
Remove a Person Without Photoshop
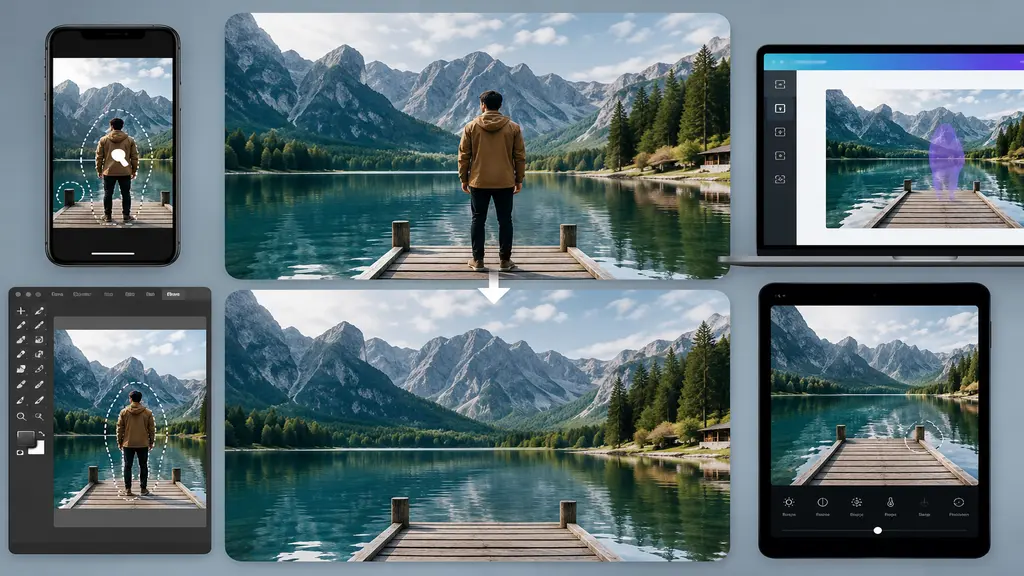
Not everyone has Photoshop sitting on their laptop, and for a one-off edit, you probably don’t need it either. A few lighter options that get the job done:
- Snapseed. Free mobile app with a Healing tool that handles small objects and people against plain backgrounds decently well.
- GIMP. Free desktop software, kind of a Photoshop alternative, with its own Heal Selection and Clone tools. If you’re new to GIMP, you can also learn how to remove background in GIMP step by step.
- Canva’s Magic Eraser. Fine for quick fixes, especially if the photo’s already heading into a design project like a flyer.
- Lightroom’s Remove tool. Handy if you’re already editing color and exposure in the same session anyway.
These are great for casual edits but tend to struggle once things get complicated — crowded streets, overlapping people, glass reflections, that sort of thing.
Best Free Apps for This
If you don’t want to spend anything, try these before paying for software:
- TouchRetouch. Made specifically for erasing unwanted objects or people, with a basic tap-and-remove setup.
- Remove.bg. Known mostly for cutting out backgrounds, but it also handles isolating and removing subjects.
- Photoleap. Has AI object removal built in alongside other editing tools.
- PicsArt. Includes a cleanup feature, plus filters if you want to touch things up afterward.
Most of these have free versions, though you’ll often hit watermarks or a resolution cap. Fine for casual use, less so if you need something print-ready.
Common Mistakes to Avoid
A lot of DIY edits fall apart from a few avoidable slip-ups:
- Rushing the selection. Trace too loosely or too fast and you’ll leave behind ghost outlines or stray pixels.
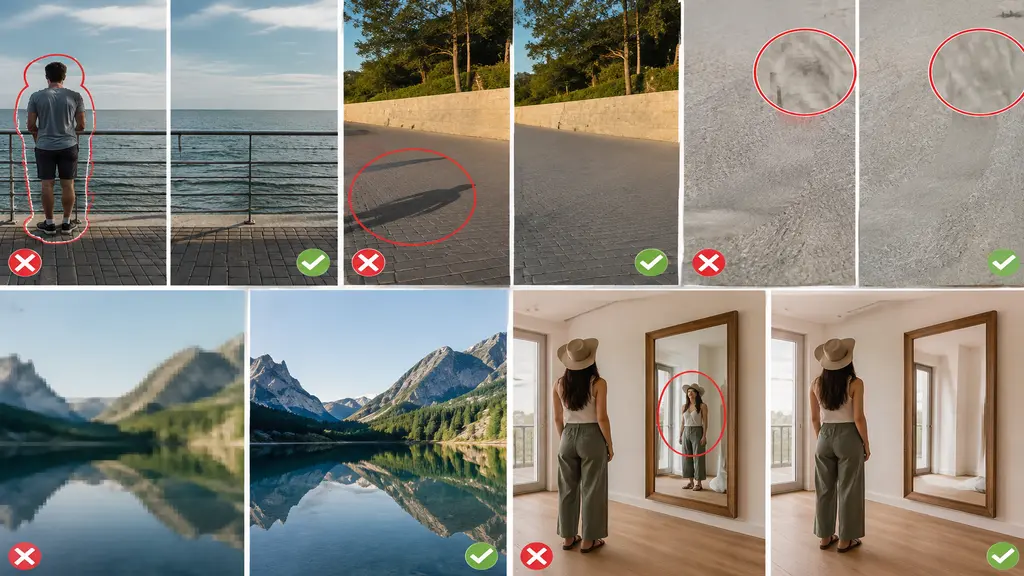
- Forgetting the shadow. You erase the person but leave their shadow behind — one of the most obvious giveaways there is.
- Skipping the close-up check. An edit can look fine zoomed out and still have a blurry, repeated patch that only shows up at full size.
- Using a low-quality photo. Editing tools need real pixel data to work with. A tiny, compressed image won’t give you a clean result no matter what app you use.
- Ignoring reflections. Mirrors, windows, glass — the person can still be visible there even after you’ve erased them from the main frame.
A few extra minutes checking these usually separates an okay edit from one nobody notices.
When to Hire a Professional
DIY apps are fine for a casual photo you’re posting for friends. But for anything tied to business — product listings, real estate shots, wedding albums, marketing images — those small flaws automated tools leave behind can actually cost you. A slightly blurry patch on a personal photo? Nobody cares. The same flaw on a product photo thousands of customers will see? That’s a different story.
This is where hiring someone who edits by hand makes a real difference. At Clipping Creations India, we don’t rely purely on automated fill tools — our editors go in manually, which means the final image still holds up under close inspection or a large print. If the photo also needs the background cleaned up along with the person removed, take a look at our background removal service. It’s built for this kind of detailed, pixel-level work that eCommerce sellers and photographers rely on regularly.
Tips for a Natural Look
A few small habits go a long way toward making an edit blend in instead of standing out.
- Edit the full-resolution file. Compressing the photo first strips detail you’ll need later, so always work from the original.
- Match the light direction. Look at where the light’s coming from in the rest of the shot before you shade or brighten the patched area.
- Take a break, then come back. Fresh eyes catch flaws that were easy to miss five minutes earlier.
- Zoom to 100% before calling it done. Thumbnails hide a lot — small errors only show up at full size or in print.
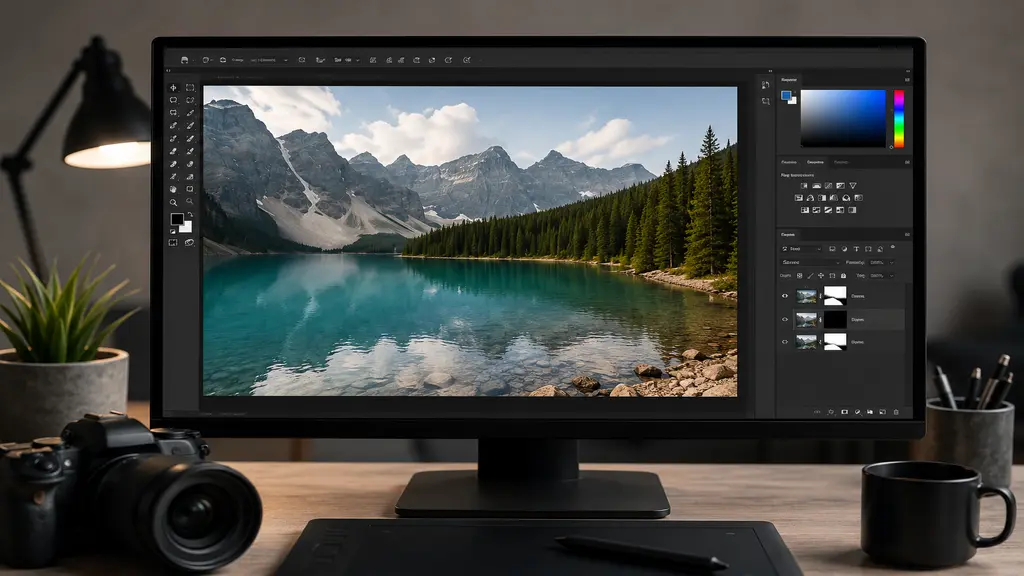
- Keep a layered file if you can. In Photoshop or GIMP, this lets you go back and fix a small detail later instead of redoing the whole edit.
None of this takes much extra time, but it’s usually the difference between an edit that looks professional and one that looks obviously touched up.
Conclusion
Removing a person from a photo isn’t nearly as complicated as it might seem once you know which tool fits your situation. For a quick, casual fix, a mobile app will do the job in a few minutes. For anything that needs to look flawless — product photos, listings, portfolio work — manual retouching from someone experienced is still the safer bet. Either way, the goal’s the same: a photo that looks like it was always meant to look that way.
