
How to Fix Pixelated Photos: A Simple Guide to Clearer Images
- August 20, 2026
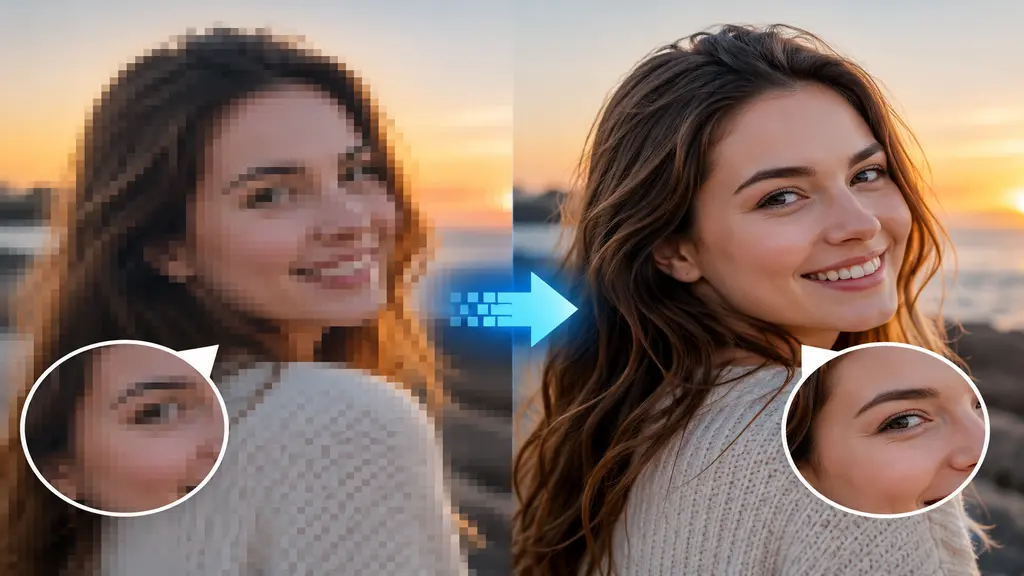
Zoom into a photo far enough and it just falls apart — little squares everywhere, edges gone jagged. That’s pixelation. It happens to basically everyone at some point. An old family photo pulled off a hard drive, a product shot that looked fine on a phone screen but not once it’s blown up for a website, a picture saved off WhatsApp for the fifth time. This post covers how to fix pixelated photos, and I’m skipping the padding. Just what actually works — phone, laptop, or if you’d rather someone else deal with it entirely.
What Is a Pixelated Photo?
Pretty much what the name says. You can see the individual squares, the pixels, that make up the picture, instead of one smooth image. Edges look like little staircases instead of clean lines. Usually this happens when a small photo gets stretched way past its original size, or you zoom in further than the file can actually support. Fine detail disappears, colors start bleeding into each other a bit, and the whole thing looks off somehow, even if you can’t immediately say why. Put that on a product page or a printed flyer and people notice.
Why Do Photos Get Pixelated?
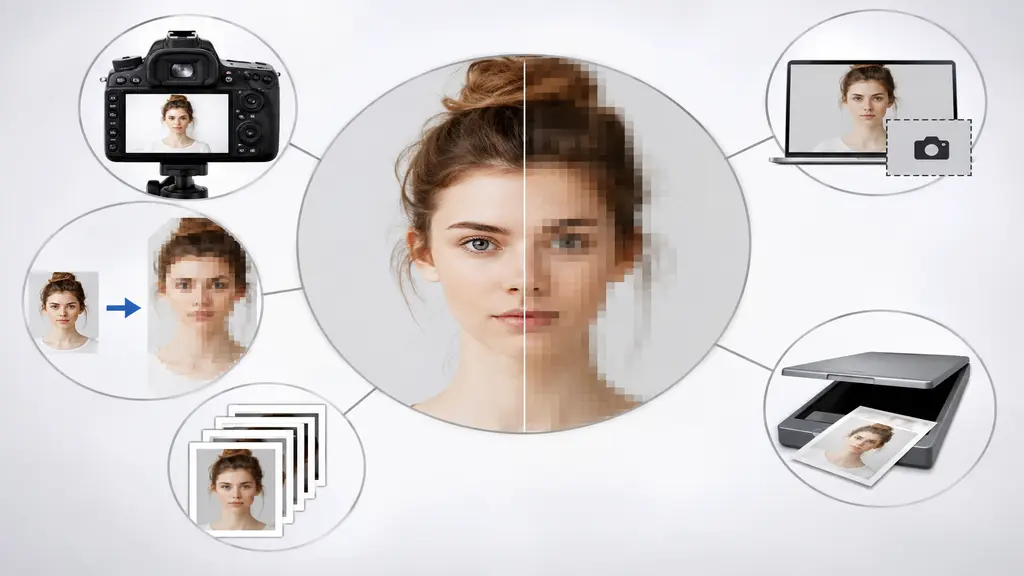
A few causes keep coming up. Worth knowing so you’re not stuck fixing the same problem every week.
- Camera or phone set to a lower resolution than you thought — so there just wasn’t much pixel data captured to begin with.
- Stretching a photo way past its size. Take something shot at 500px and blow it up to 2000px, and the software has to guess at pixels that were never there in the first place. That guesswork is the blockiness you’re seeing.
- Repeated JPEG saves. Quality drops a little each time you save, and after enough rounds it’s noticeable.
- Screenshots instead of the actual file — a screenshot is a copy of a copy, so it was never going to be as sharp.
- Old scanned prints, or photos from a phone with a weaker camera. Low resolution from day one means every flaw shows once you enlarge it.
Fix Pixelated Photos Online
Nothing to install here. Just a browser and a few minutes.
- AI upscalers have genuinely improved. Upload the file, wait a bit, and it fills in the missing detail on its own — no editing skill required.
- A handful of tools separate deblur from denoise, which helps if the photo’s dealing with both at once instead of just one.
- Free plans cap file size or how many uploads you get per day, usually. Fine for one photo, annoying if you’ve got a batch of fifty waiting.
Fix Pixelated Photos in Photoshop
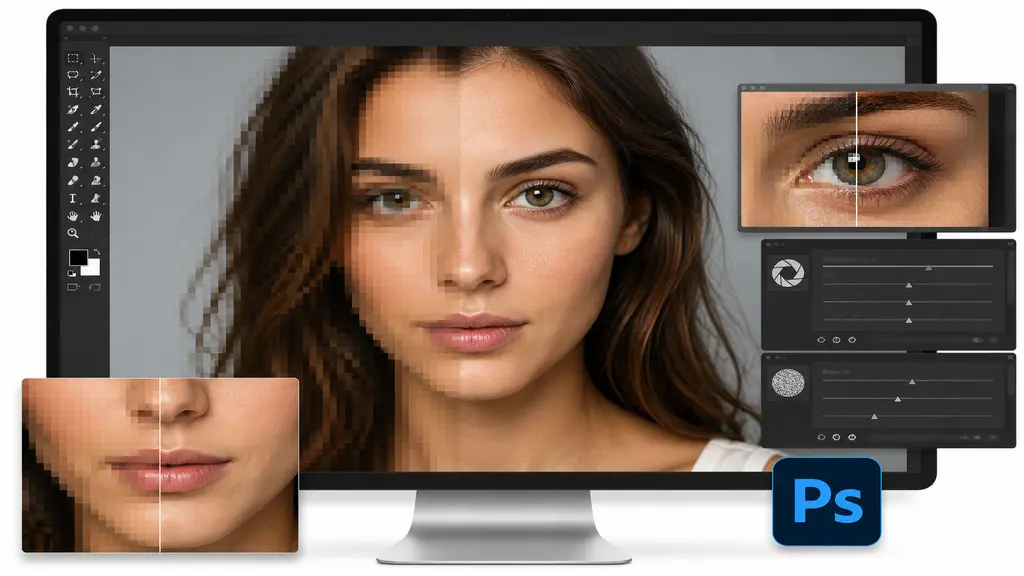
Still where I’d send anyone who wants real control over the outcome.
- Smart Sharpen, under Filter > Sharpen, tightens edges up without making the photo look fake or over-cooked.
- The Clarity and Detail sliders inside Camera Raw filter let you nudge sharpness up gradually instead of all at once.
- Resizing something bigger? Preserve Details 2.0 under Image Size cuts down noticeably on the blockiness you’d get otherwise.
- Heavy grain first — run Reduce Noise before sharpening, or the sharpening just makes the noise stand out more.
Fix Pixelated Photos on Mobile
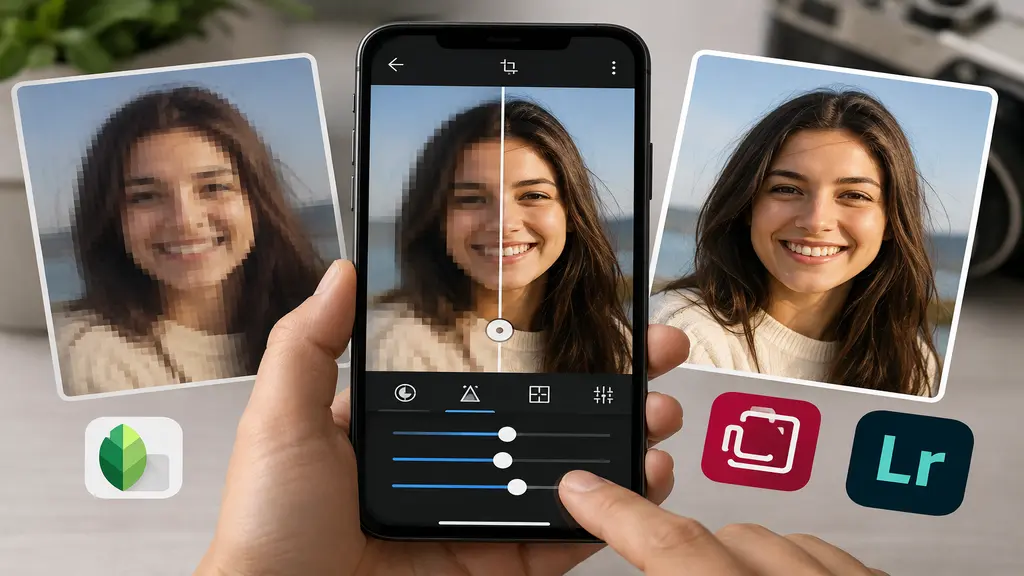
Most people run into this problem away from a desktop, so here’s what works on a phone.
- Snapseed’s free, and its Sharpen and Details tools cover most quick fixes well enough.
- Remini’s built for old, blurry photos specifically, and it’s honestly impressive with faces.
- Lightroom Mobile has the same Clarity and Sharpening sliders as the desktop version, just squeezed into a smaller screen.
Need a Professional Editor?
Sometimes none of the above gets you all the way there, especially with bulk product photos that all need to match each other. That’s usually where it makes sense to just hand it off. And if it’s not only sharpness but the background that needs work too, a proper background removal service can take care of both together, so what comes back actually looks ready for a store page instead of just slightly less blurry.
Tips to Avoid Pixelated Photos
Some care up front saves a lot of editing later, honestly.
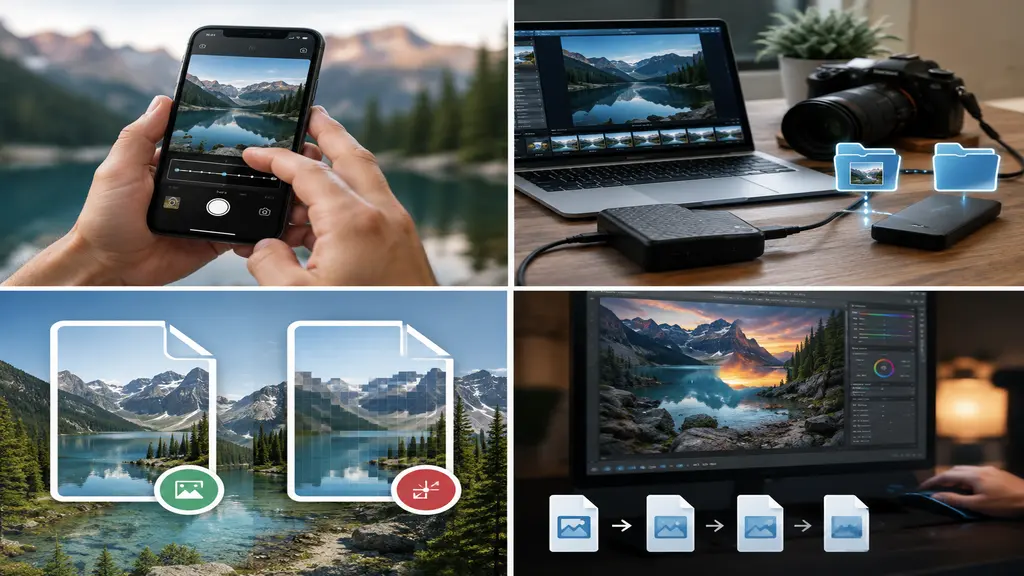
- Set the camera or phone to its highest resolution before you shoot, not after two hundred photos are already taken.
- Keep an untouched copy of the original somewhere. Always edit a duplicate.
- Pick PNG or RAW over JPEG when it’s an option — less compression, less quality lost along the way.
- Try not to keep re-saving the same file in a compressed format. Each save loses a little more than people expect.
Conclusion
Used to be you either lived with a pixelated photo or paid someone a lot to fix it. That’s not really the case anymore. Between online AI tools, Photoshop, and a couple of decent mobile apps, most people can sharpen a photo up in a few minutes flat. For bulk or business work, though, handing it to a professional is usually just less hassle. Either way, that’s how to fix pixelated photos, and how to stop the problem before it starts next time.
