
How to Increase the Resolution of an Image (Fast & Easy)
- August 24, 2026
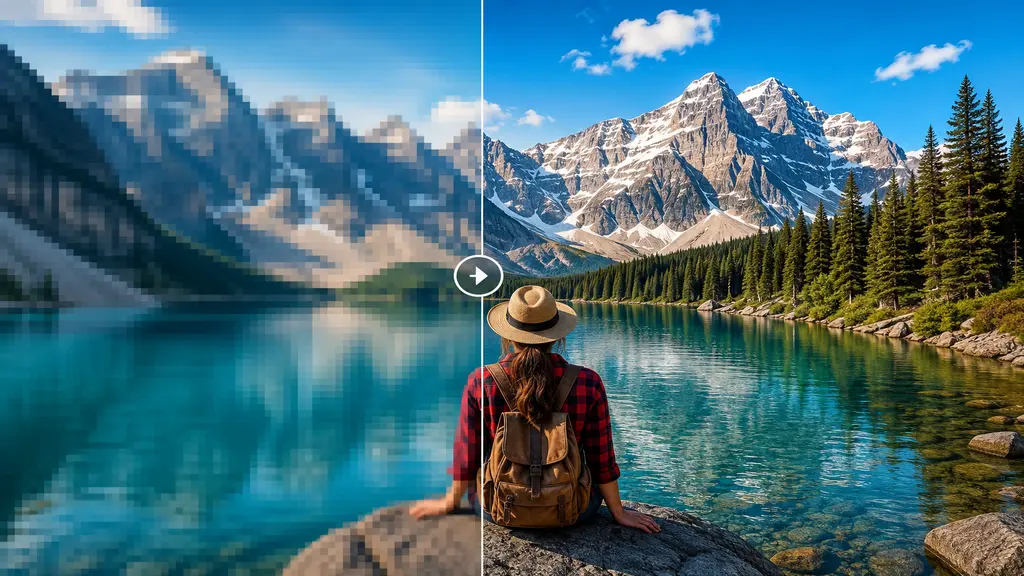
You download a product photo, zoom in just a little, and suddenly it looks like it was taken through a foggy window. Sound familiar? That’s a resolution problem, and honestly, it happens to almost everyone at some point. Sellers dealing with old supplier photos, designers stuck with a file that’s too small for print, or someone who just wants grandma’s scanned photo to look okay on a laptop screen — all of them run into this same wall eventually.
So here’s the question people actually type into Google: how to increase the resolution of an image without it looking fake or blotchy. Turns out you don’t need years of Photoshop experience for this. A few practical methods can take a soft, low-quality photo and make it usable again. We’ll go through them one by one below, plus a couple of things people get wrong when they try to “fix” resolution on their own.
What Is Image Resolution?
Quick refresher before we get into fixes. Resolution basically means how much detail is packed into an image — usually described in pixels, like 1920×1080, or in DPI (dots per inch) if you’re talking print work. More pixels, more detail. Fewer pixels, and things start to look soft or blocky the second you zoom in.
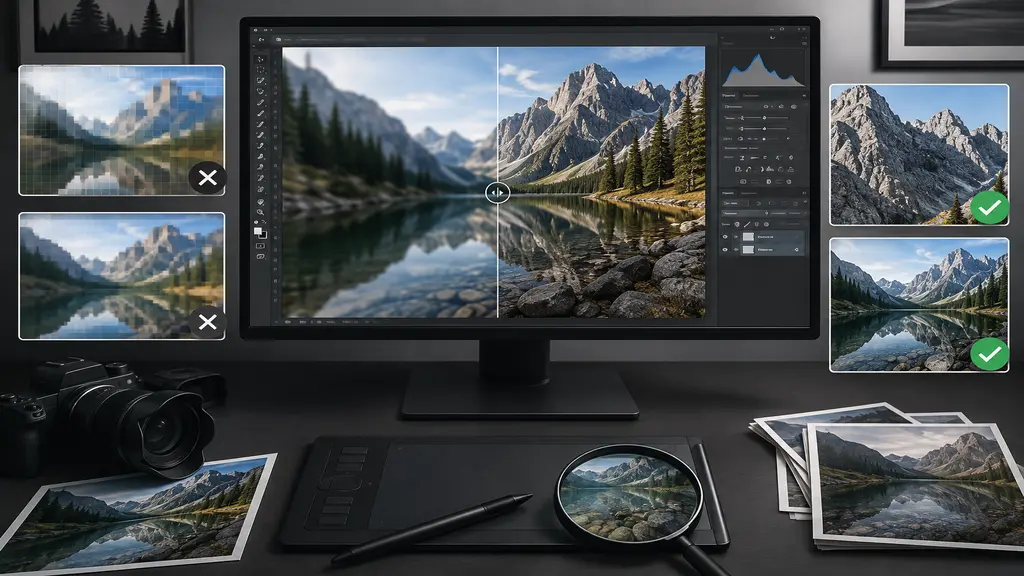
Here’s the part that trips people up though: when an image doesn’t have enough pixel data and you try to blow it up bigger, the software has to make guesses about what those extra pixels should look like. That guessing game is exactly why stretched images end up blurry or full of jagged edges. If you’re dealing with visible blockiness after enlarging an image, see our guide on how to fix pixelated photos for practical solutions.
Why Low Resolution Is a Problem
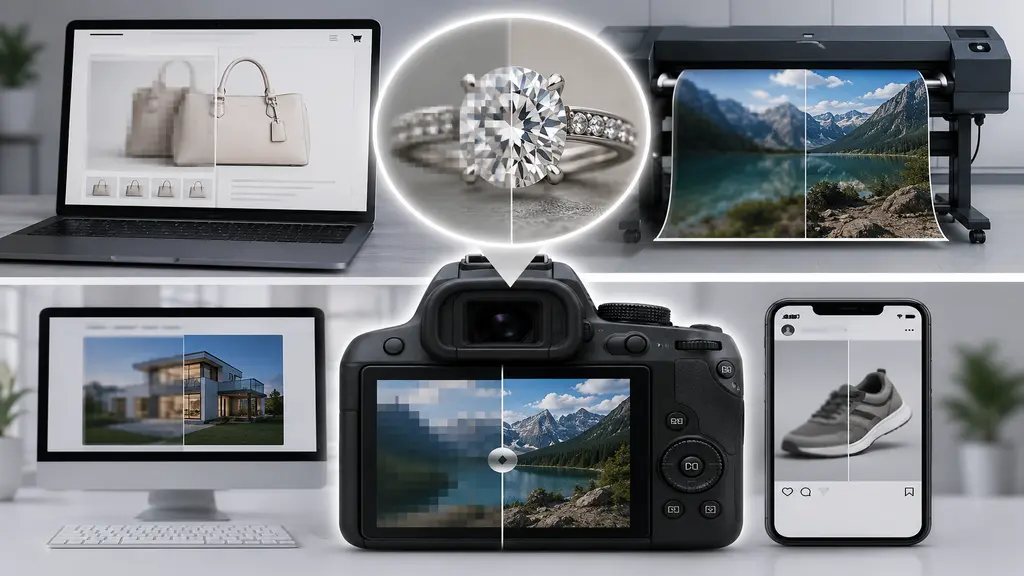
It’s not just about looks either. A blurry image can actually cost you sales or make a brand look less trustworthy. A few real examples:
- Product listings lose buyer trust — people zoom in before buying almost every time, and a pixelated photo makes them second-guess the purchase.
- Printed materials look cheap — banners, brochures, packaging, anything that needs a higher DPI will show every flaw once it’s printed at size.
- Websites feel outdated — one blurry hero image or logo can drag down an otherwise well-built site.
- Social platforms flag low-quality uploads — a lot of ad platforms have minimum resolution rules, and a soft image just gets rejected.
If even one of these sounds like something you’ve dealt with, it’s probably worth fixing the resolution instead of working around it.
How to Increase Image Resolution
Alright, the part you’re actually here for. There’s a range of options here, some take five minutes, others need a bit more patience.
1. Use an AI Upscaling Tool
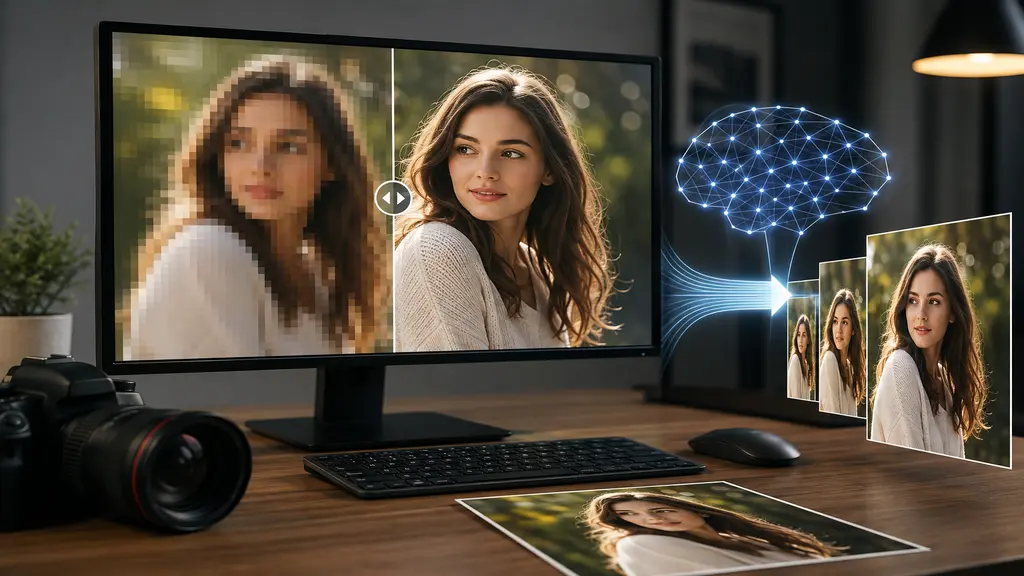
This is probably the fastest route these days, and honestly the results speak for themselves. Tools like Topaz Gigapixel, Let’s Enhance, and a handful of free browser-based options use machine learning to fill in missing detail instead of just stretching pixels blindly. That’s the big difference — the software is predicting what should be there, not just smearing the existing pixels wider.
- Works well for: product shots, portraits, images that need a real size jump.
- Watch out for: paid tiers, and free versions that slap a watermark on the output or cap the resolution.
2. Resize in Photoshop or GIMP
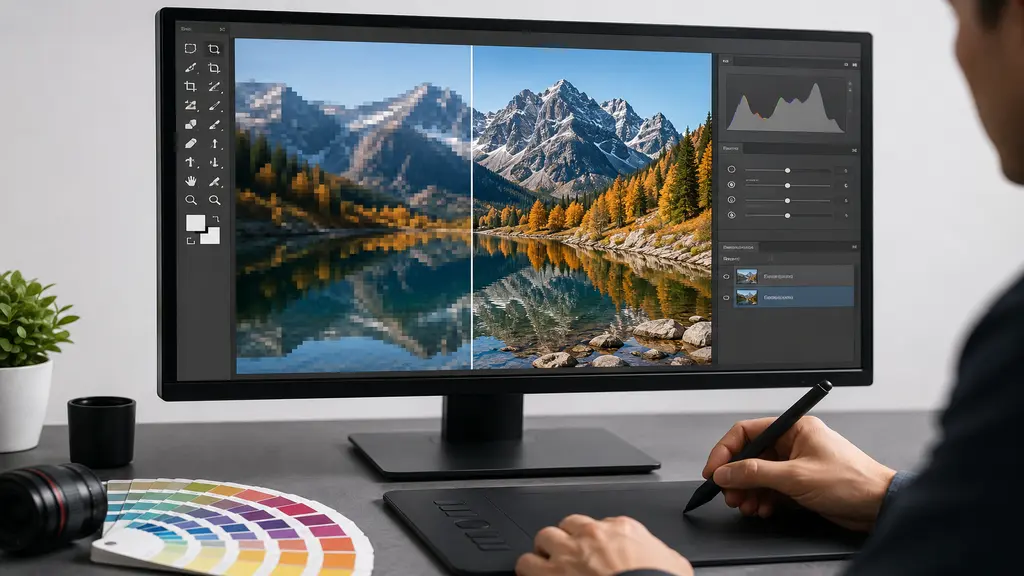
If you’ve already got design software installed, this route works fine too. The trick most people miss is going up gradually instead of jumping from something like 72 DPI straight to 300 DPI in one move — small steps hold up better. Picking the right resampling method matters as well; “Preserve Details” or “Bicubic Smoother” tend to give cleaner results than the default settings.
- Works well for: anyone already comfortable with editing software.
- Watch out for: it’s a manual process, so it takes longer and has a small learning curve.
3. Shoot Photos in High Resolution
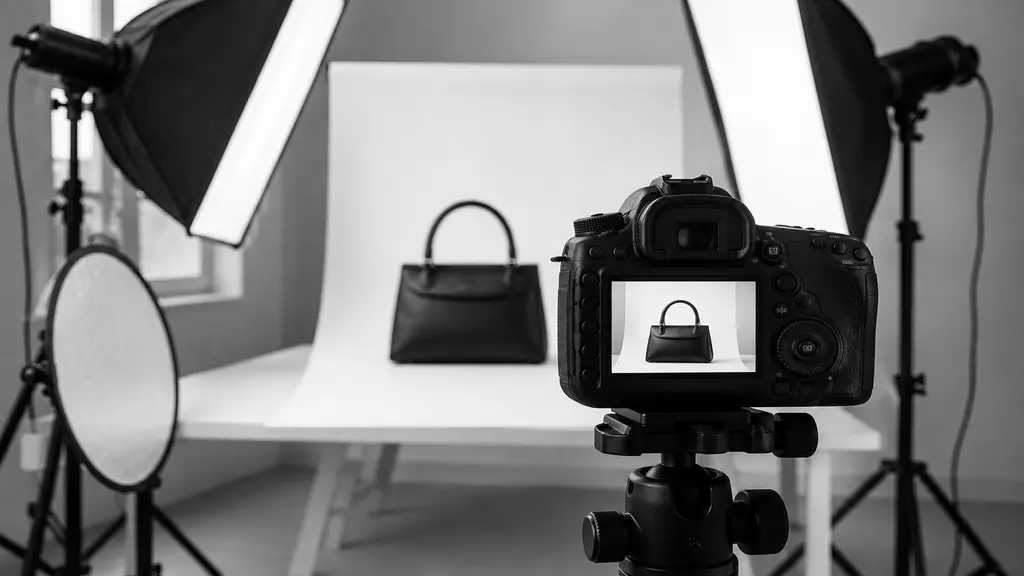
Kind of obvious, but worth saying anyway — shoot at the highest resolution your camera or phone allows in the first place. Going from a large photo down to a smaller size is easy. Going the other way is where all the trouble starts. This one habit alone saves a lot of editing headaches later.
4. Use a Professional Photo Editor
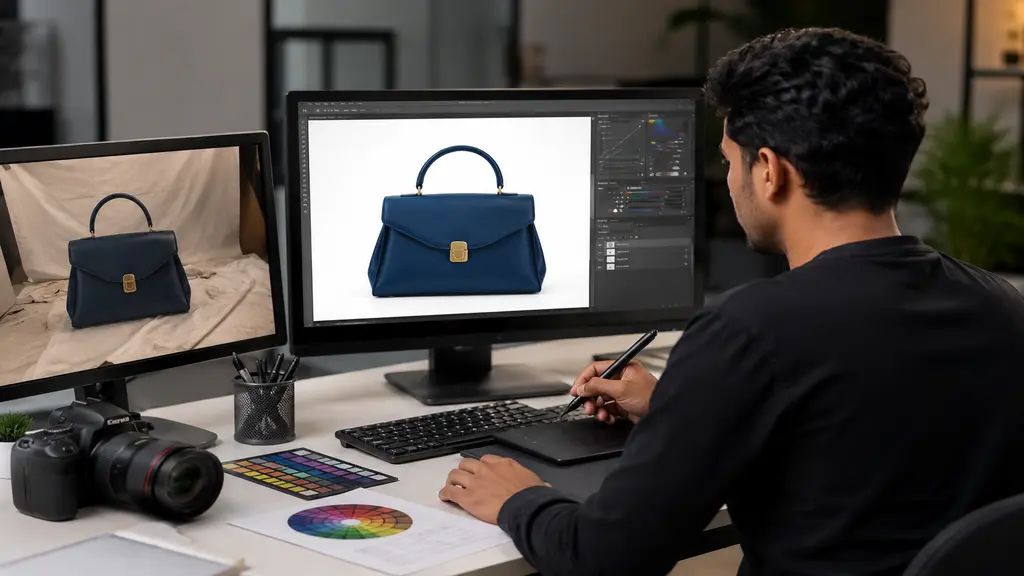
Sometimes automated tools just miss the mark, especially with tricky images — reflective product shots, old scanned prints, or anything with a lot of fine detail. That’s usually when handing it to a photo editing team makes more sense. A trained editor can boost the resolution and fix other issues at the same time, like uneven lighting or a background that doesn’t belong there.
Speaking of backgrounds, if your low-res image also has a distracting or messy background, that’s typically handled alongside resolution work anyway. Our background removal service gets paired with resolution fixes pretty often — a lot of eCommerce sellers want a clean, sharp, store-ready image in one pass instead of going back and forth between two separate edits.
Tips to Keep the Image Looking Natural
Bumping up resolution is only half the battle. Keeping it looking natural afterward is the part people usually skip.
- Don’t oversharpen — it’s tempting to crank sharpness up right after upscaling, but push it too far and the image starts looking harsh and artificial. If the image still looks soft after increasing its resolution, you can also learn how to unblur a photo using different editing methods.
- Pick the right file format — PNG or high-quality JPEG holds up better than formats that compress heavily.
- Zoom in and check — always look at 100% zoom before calling it done, artifacts and weird smoothing patterns hide at smaller sizes.
- Know the limit — there’s only so much you can pull out of a tiny thumbnail. No tool turns a postage-stamp-sized photo into a billboard. If your image is already blurry rather than just low-resolution, learn how to make a photo less blurry with these practical editing methods.
Conclusion
At the end of the day, figuring out how to increase the resolution of an image isn’t as complicated as it first seems. Whether you lean on an AI tool, do it manually in Photoshop, or hand it off to a professional editor, the end goal is the same — a sharp, clean image that actually does your product or your work justice. And if the image also needs a background fix along with the resolution boost, it’s usually worth handling both together so you’re not editing the same photo twice.
