How to Edit VSCO Photos: A Complete Guide for Beginners
- June 30, 2026
If you’ve ever admired soft, natural, and aesthetically pleasing photos on social media, chances are you’ve seen the signature VSCO editing style. Many photographers, influencers, and content creators use VSCO-inspired edits because they create clean, timeless, and professional-looking images without making them appear overly edited. Learning how to edit VSCO photos is one of the easiest ways to improve your photography, even if you’re a beginner.
Unlike heavy filters that dramatically change an image, VSCO editing focuses on enhancing natural colors, balancing exposure, softening highlights, and creating a subtle film-inspired look. As a result, your photos remain realistic while becoming significantly more attractive.
In this guide, you’ll learn what VSCO is, why it’s popular, how to edit VSCO photos step by step, and the best practices for achieving a professional aesthetic.
What Is VSCO?
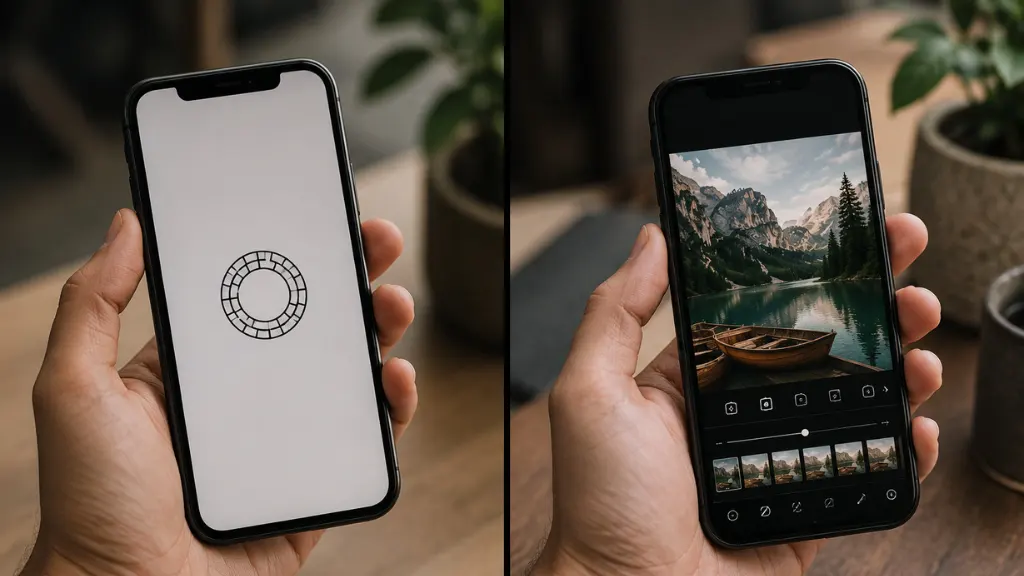
VSCO is a popular mobile photo and video editing application available for both Android and iOS devices. It combines professional editing tools with a large collection of high-quality film-inspired presets. Besides editing photos, VSCO also includes a creative community where photographers can showcase their work.
Unlike many social media platforms, VSCO focuses on creativity rather than likes and follower counts. Consequently, photographers often use it as both an editing tool and an inspiration platform.
The app offers both free and premium features. While the free version includes essential editing tools and several presets, the premium membership unlocks hundreds of additional filters, advanced color grading, HSL controls, and professional editing features.
Why Is the VSCO Editing Style So Popular?
The VSCO editing style has remained popular for years because it enhances images naturally instead of making them look artificial.
Professional photographers appreciate VSCO because it produces clean and timeless edits that work well across portraits, travel photography, landscapes, lifestyle images, fashion photography, food photography, and social media content.
Additionally, the editing style complements different lighting conditions while preserving realistic skin tones and natural colors.
The most recognizable characteristics include:
- Soft contrast
- Natural lighting
- Film-inspired grain
- Slightly faded shadows
- Muted colors
- Balanced exposure
- Warm or cool tones
- Minimal saturation
- Clean composition
- Professional finish
These elements work together to create the classic VSCO aesthetic.
Why Learn How to Edit VSCO Photos?
Learning how to edit VSCO photos helps improve the overall quality of your images regardless of the camera you use.
Whether you take photos using a smartphone or a professional DSLR camera, proper editing can enhance details while maintaining a natural appearance.
Benefits include:
- Better social media engagement
- More professional-looking photographs
- Consistent editing style
- Improved color balance
- Enhanced lighting
- Cleaner compositions
- Stronger personal branding
- Higher-quality portfolio images
Because of these advantages, VSCO editing has become a favorite among beginners and experienced photographers alike.
How to Edit VSCO Photos Step by Step
Professional-looking VSCO edits follow a structured workflow. Instead of randomly adjusting settings, work through each step carefully.
Step 1: Choose a High-Quality Photo
Every great edit begins with a quality image.
Use photos that are:
- Sharp
- Properly exposed
- High resolution
- Well composed
- Captured in natural lighting whenever possible
Editing can improve an image, but it cannot completely fix a poorly captured photograph.
Step 2: Select a VSCO Preset
VSCO presets provide an excellent starting point.
Each preset offers a unique mood inspired by traditional film photography.
Some presets create warm vintage tones, while others emphasize cooler colors or softer contrast.
Avoid using presets at full strength immediately. Instead, reduce their intensity until the image looks natural.
Step 3: Adjust Exposure
Exposure controls overall image brightness.
If the photo appears too dark, increase exposure slightly.
If bright areas lose detail, reduce exposure until highlights look balanced.
Small adjustments usually produce the most natural results.
Step 4: Improve Contrast
Contrast determines the difference between bright and dark areas.
VSCO-style editing usually favors moderate contrast rather than extremely high contrast.
Balanced contrast creates depth without making the image appear harsh.
Step 5: Adjust White Balance
White balance controls color temperature.
Increase warmth for golden-hour portraits or cozy lifestyle images.
Reduce warmth when editing snowy landscapes or modern architectural photography.
Natural-looking white balance makes every other adjustment appear more realistic.
Step 6: Fine-Tune Highlights and Shadows
Highlights control the brightest parts of an image.
Shadows affect darker areas.
Reducing highlights often restores sky details, while slightly lifting shadows reveals information hidden in darker regions.
Balanced lighting creates a polished appearance without looking overprocessed.
Step 7: Add a Small Amount of Fade
One of the most recognizable VSCO characteristics is faded blacks.
The fade tool slightly lifts the darkest tones, producing a soft film-inspired appearance.
However, excessive fade can reduce image quality, so subtle adjustments usually work best.
Step 8: Add Film Grain
Film grain recreates the texture of traditional analog photography.
Adding a small amount of grain gives digital images a more authentic appearance.
Professional editors use grain carefully because too much can reduce sharpness.
Step 9: Adjust Saturation Carefully
Saturation controls the intensity of colors throughout the image. One reason the VSCO aesthetic looks so appealing is that it avoids overly vibrant colors.
Instead of dramatically increasing saturation, make small adjustments that preserve a natural appearance. If certain colors appear too strong, slightly reduce saturation to create a softer and more balanced image.
Remember, subtle color grading often looks more professional than heavily saturated edits.
Step 10: Sharpen the Final Image
After completing your color adjustments, apply a small amount of sharpening.
Sharpening improves fine details and helps your photo appear crisp without creating unwanted halos or digital artifacts.
Avoid oversharpening because it can introduce noise and make skin textures look unnatural.
Best VSCO Editing Tips for Beginners
Editing successfully takes practice, but following a few simple guidelines will help you achieve better results much faster.
Keep Your Edits Natural: One of the biggest mistakes beginners make is applying every editing tool too aggressively. Instead, make small adjustments and evaluate the image after each change.
Natural-looking edits almost always outperform heavily processed photos.
Maintain Consistent Colors: If you’re editing multiple photos for Instagram, a portfolio, or your website, use similar settings across every image.
Consistent colors create a recognizable visual style and strengthen your personal or business brand.
Use Natural Lighting: Although editing improves photographs, starting with well-lit images produces the best results.
Whenever possible, photograph subjects during the morning, late afternoon, or golden hour for soft natural light.
Avoid Excessive Filters: Filters should enhance your photo, not hide it.
Use presets as a starting point, then fine-tune the image manually until it looks realistic.
Practice Different Styles: VSCO offers many preset styles ranging from warm vintage looks to modern clean edits.
Experiment with different combinations until you discover the style that best matches your photography.
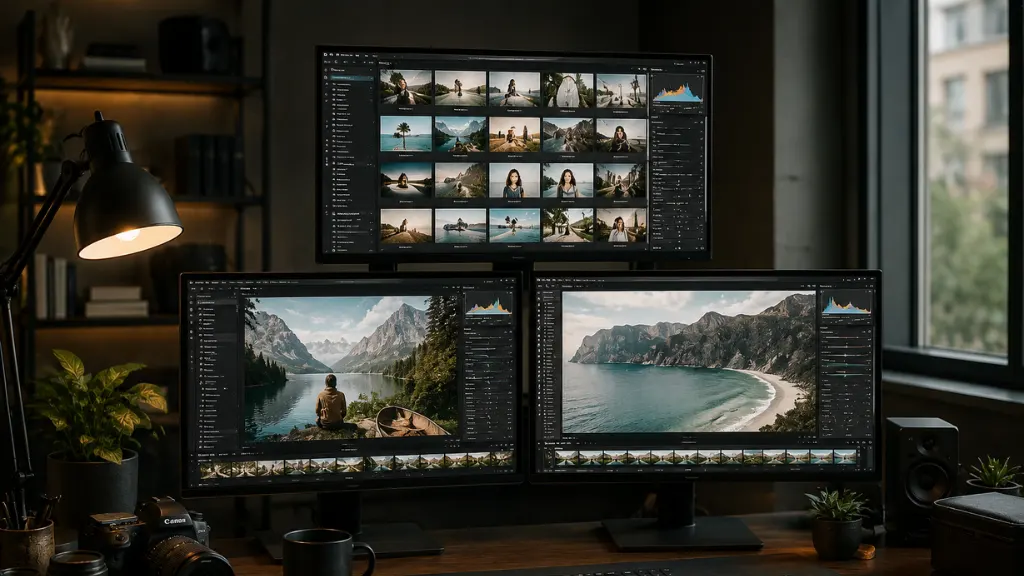
Can You Create the VSCO Look Without the VSCO App?
Yes. While the VSCO app is popular, you can achieve a similar aesthetic using professional editing software such as Adobe Photoshop, Adobe Lightroom, Capture One, or other advanced photo editors.
These programs provide greater control over exposure, color grading, shadows, highlights, sharpening, and film grain.
Professional image editing services also recreate the VSCO style while maintaining commercial-quality standards. This option works particularly well for photographers, influencers, fashion brands, and businesses that need consistent results across large collections of images.
Final Thoughts
Learning how to edit VSCO photos is an excellent way to improve your photography and develop a clean, timeless editing style. By understanding exposure, contrast, white balance, shadows, highlights, fade, grain, and color balance, you can transform ordinary images into beautiful, professional-looking photographs.
While the VSCO app provides an easy starting point, remember that great editing always begins with a well-composed image and thoughtful adjustments. Rather than relying entirely on filters, focus on enhancing the natural beauty of each photo.
As your skills grow, you’ll develop a consistent editing style that reflects your creativity and helps your images stand out. And if you need commercial-quality results for business, branding, or marketing, professional photo editing services remain the best solution for achieving polished, high-end visuals.