
How to Blur a Picture on iPhone (Easy Step-by-Step Guide)
- September 9, 2026
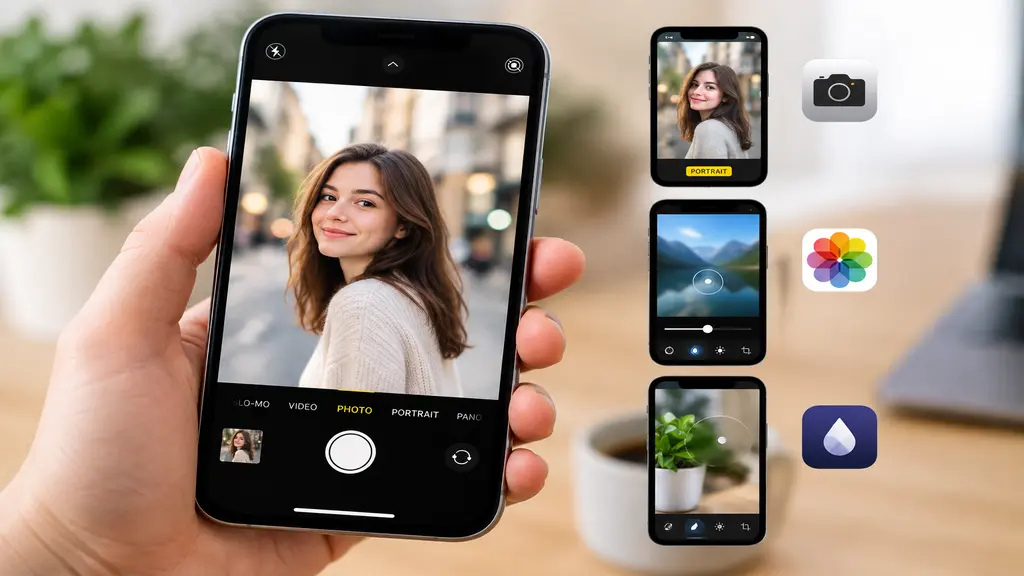
Ever taken a shot where the background just… steals the show? Not in a good way. You’ve got a great subject, and then some cluttered street or messy room behind them pulls all the attention away. That’s usually the moment people start googling how to blur a picture on iPhone. Good news — you don’t need a laptop or any fancy software for this. Your iPhone already has what you need, and a couple of free apps can fill in the rest.
This guide walks through every method that actually works, from the built-in camera trick to apps that let you blur one tiny spot and leave everything else alone. Pick whichever fits what you’re trying to do.
What Is Photo Blur?
At its core, blurring means softening one part of a photo while keeping another part crisp. Photographers have a fancy term for it — “shallow depth of field” — but really it just means the subject stays sharp and everything around it fades into a soft haze. DSLRs do this naturally, through the lens itself. Phones fake it with software, either right when you shoot or afterward in editing.
People usually want to blur a picture on iPhone for one of two reasons:
- Making it look nicer — softening the background behind a portrait, a product photo, or even dinner on a plate so the subject stands out.
- Hiding something — a face, a license plate, an address, anything you don’t want visible before you post the photo somewhere.
Both are doable. Let’s get into how.
Use Portrait Mode
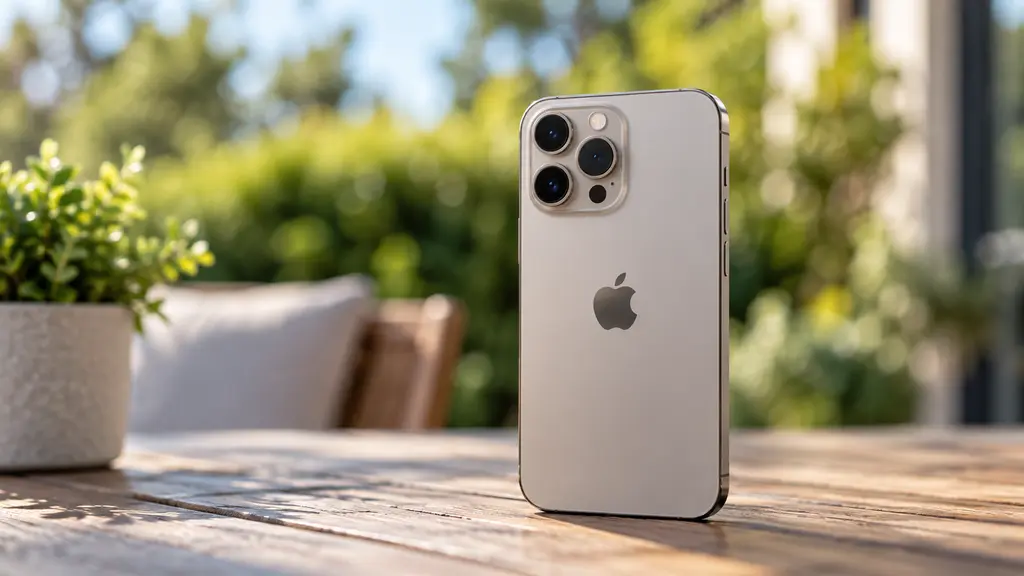
Honestly, this is the fastest route. Portrait Mode has been on iPhones since the 7 Plus, and it does the blurring for you automatically while you shoot:
- Open Camera, swipe over to Portrait.
- Stand your subject about 2–8 feet from the phone — too close or too far and depth detection struggles.
- Look for that little yellow label up top (something like “Natural Light”). That’s your cue the iPhone has locked onto the depth.
- Tap the shutter.
That’s it. Background blurs, subject stays sharp. And if you want more or less blur, there’s an f-number slider you can play with — f/1.4 for heavy blur, f/16 for barely any.
Edit Blur Later
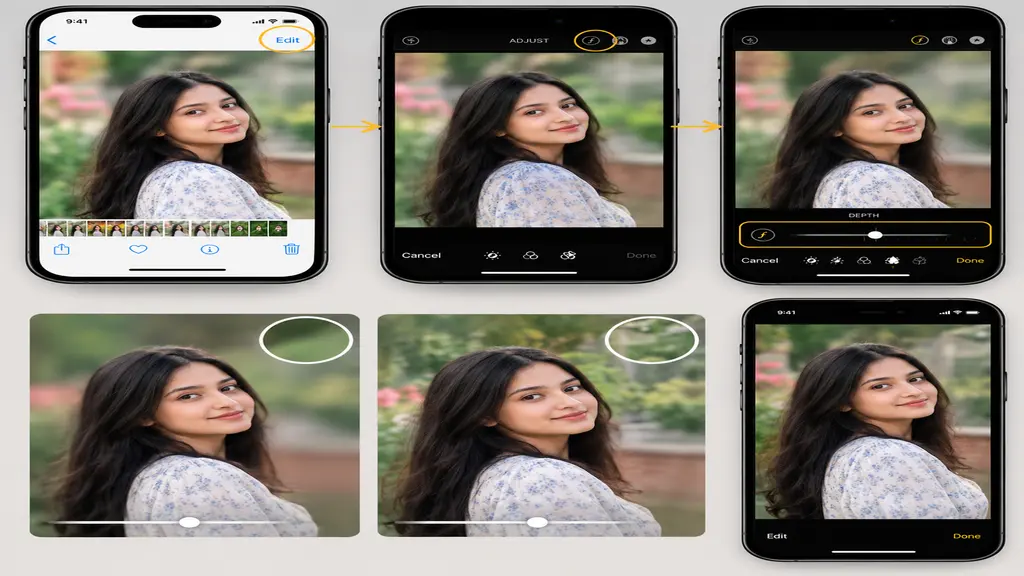
Forgot to switch to Portrait before shooting? As long as the photo was taken in that mode, you can still go back and tweak the blur:
- Open the photo in Photos.
- Tap Edit.
- Hit the little f icon near the top — that’s Depth Control.
- Slide it left or right until it looks right to you.
- Tap Done.
One catch, though — this only shows up on photos that were actually captured in Portrait Mode. Regular shots don’t have the depth information the slider needs, so it just won’t appear.
Blur With Apps
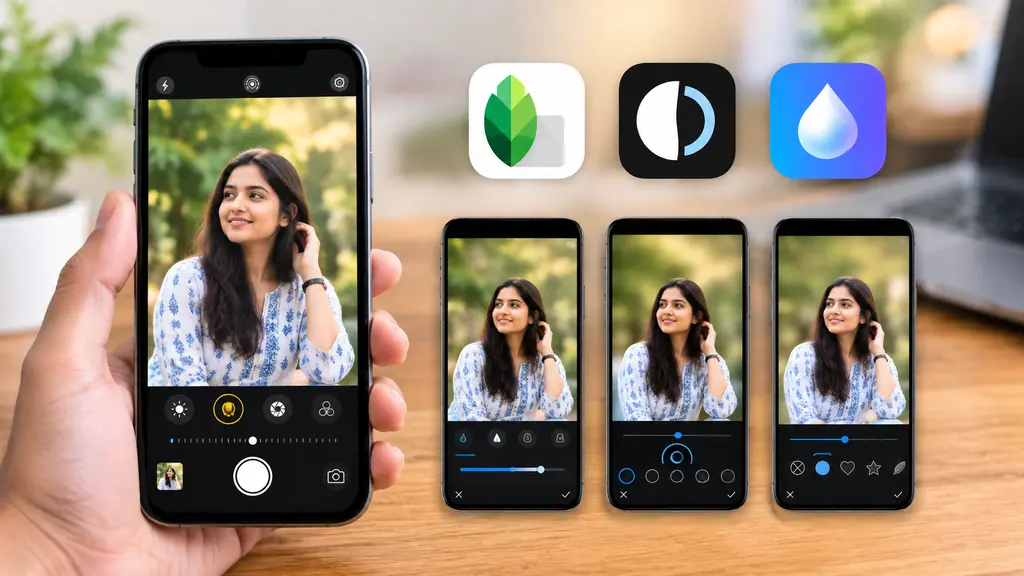
Shot the photo in normal mode and now wish you’d used Portrait? Apps can handle it. A few worth trying:
- Snapseed — free, from Google, has a “Lens Blur” tool where you tap your focus point and it blurs the rest.
- Focos — built around adding realistic depth blur after the fact, works on photos that were never shot in Portrait Mode.
- Blur Photo Editor — no frills, just background blur with adjustable strength and shape.
They all follow roughly the same idea: pick what stays sharp, let the app do the rest.
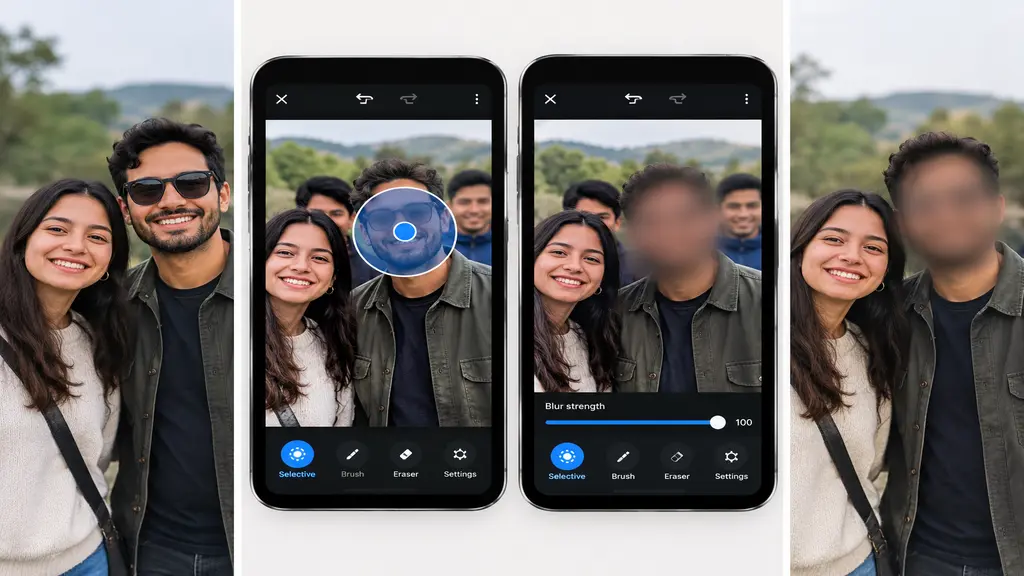
Blur a Face
Sometimes it’s not the whole background you’re after — just one thing. A face in a crowd shot. A number plate. A document lying on a table in frame. For that you need an app with a manual blur brush, not an automatic one:
- Open something like Snapseed’s “Selective” tool, or any dedicated blur app.
- Zoom right into the spot you want gone.
- Paint over it with the brush.
- Turn up the strength until it’s genuinely unrecognizable — half-blurred faces don’t count.
This one comes up a lot with family photos before posting, or screenshots that have someone’s personal info sitting in them.
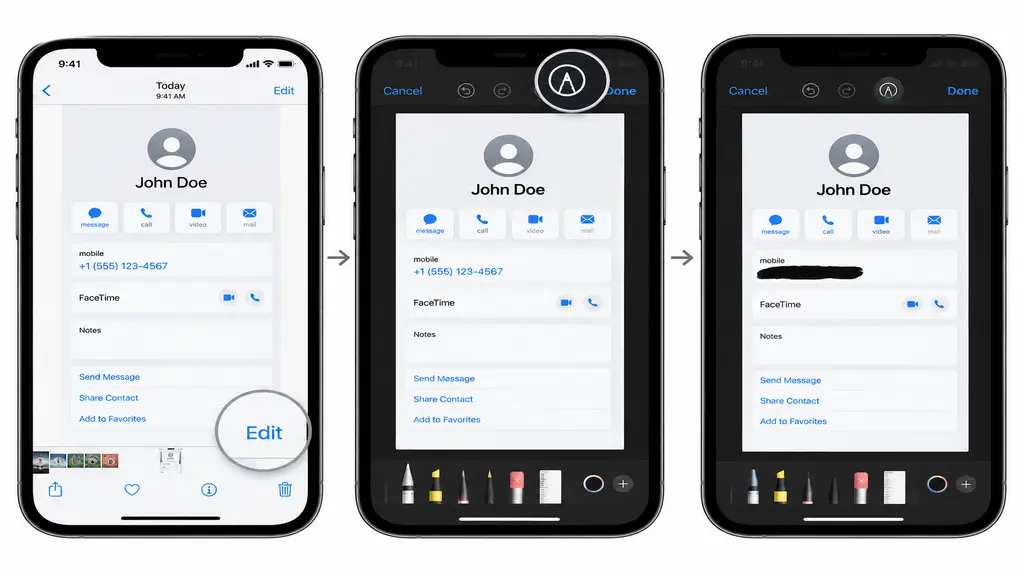
Blur With Markup
Need something quick and don’t want to download an app just to cover a phone number in a screenshot? Photos app has you covered. Open the image, tap Edit, then the pen-tip Markup icon. Draw a solid box or scribble over the bit you want hidden. It’s not technically a blur — more of a cover-up — but for casual sharing it does the job just fine.
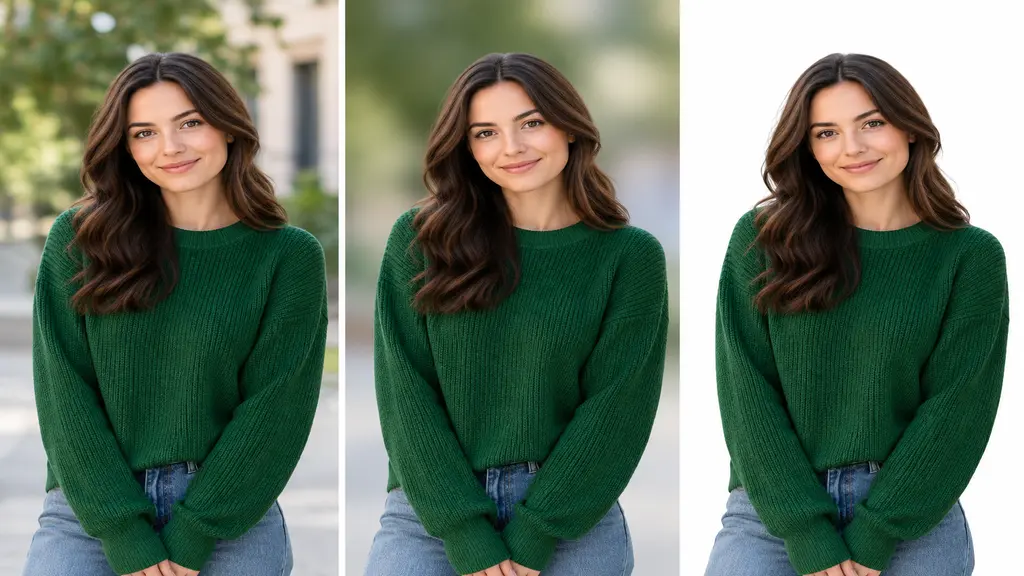
Blur vs Background Removal
Here’s something worth clearing up: blurring softens the background, it doesn’t remove it. If what you actually want is the background completely gone — plain white, or transparent, the kind of thing you see on product listings — blurring won’t get you there. That’s a different job entirely.
If that’s the situation you’re in — say, prepping product shots for an online store — it’s worth looking at a proper background removal service instead of trying to fake it on your phone. A real service gets clean edges around hair, fabric, glass, all the tricky stuff that phone apps tend to butcher.
Common Blurring Mistakes
A few things trip people up even with good tools:
- Going too heavy in one spot. An uneven blur next to a sharp edge reads as a bad edit, not a natural effect.
- Missing the edges. Hair strands, glasses, loose fabric near the boundary — auto-blur tools love to catch these by accident. Zoom in before you save.
- No backup copy. Once you overwrite the original, that sharp version might be gone for good. Duplicate first if the photo matters.
- Blurring a compressed screenshot. Low-res images blur into blocky patches instead of a smooth gradient. Start from the original file when you can.
Takes an extra ten seconds to check these, and it’s the difference between a blur that looks deliberate and one that looks like an accident.
Tips for Natural Blur
A good blur should look like it happened naturally, not like it was painted on afterward. A few small habits make that difference every time.
- More distance, better blur. The further your subject is from the background, the more realistic it looks.
- Don’t max it out. Too much intensity and edges start looking cut-and-pasted rather than naturally out of focus.
- Zoom in and check. Sometimes apps nibble away at the subject’s edges by mistake.
- Light matters more than you’d think. Portrait Mode’s depth detection struggles in dim rooms — good lighting makes a real difference.
Conclusion
Figuring out how to blur a picture on iPhone really doesn’t take much. Portrait Mode, the Depth Control slider, and a couple of apps cover just about every situation — whether you’re going for a polished aesthetic blur or just need to hide something before you post. Start with what’s already built into your phone; only reach for an app if you need finer control over one specific spot. And if it turns out what you actually need is the background gone completely rather than just softened, that’s what a background removal service is for.
