
How Do You Replace a Color in Photoshop? A Simple Step-by-Step Guide
- September 6, 2026

Every artist can’t paint the perfect color; hence, Color changing is a work of art. How to replace color in Photoshop This is a problem that has troubled the designers and photo editors at one time or another. Say you have a photo that you want to apply color-changes like a shirt. Or trying to fix the colors in your logo. Fortunately, changing a color in Photoshop is very easy once you know the secret. Therefore, let us see the simplest methods to change a color in Photoshop. Henceforward this guide goes through everything from the basics: What is color change, why you need it, how does it works and steps to color it yourself. I will provide examples as well so that you do not experience any confusion when trying it with image of your own.
What Is Color Change?
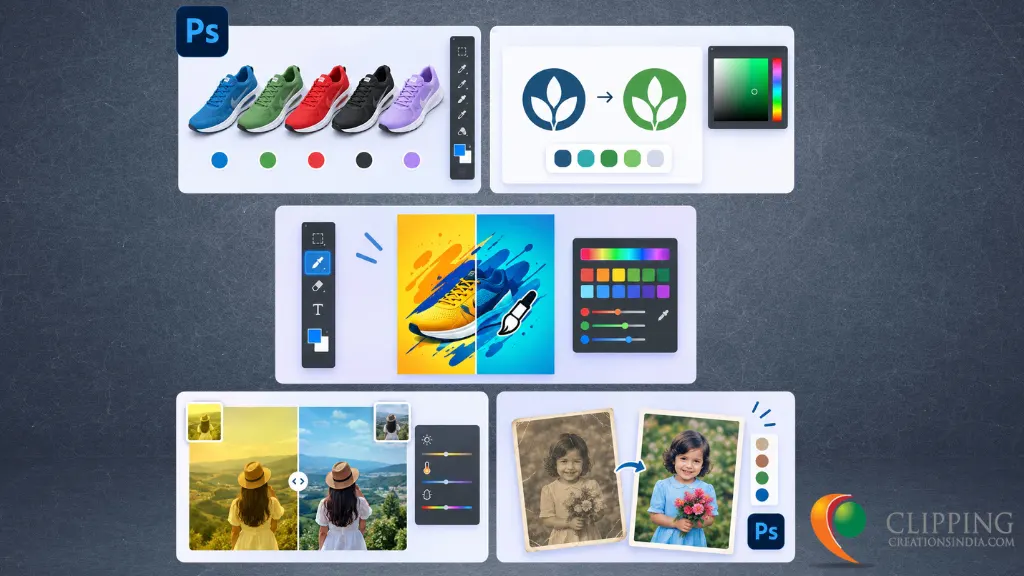
Color change basically means replacing the color of a certain part of an image with another color. For example, we know we have a red car in a photo, but you want it to be blue. Only the color changes, while the shape, shadows and texture of your car remain unchanged. Some of the tools that Photoshop provides for this work are Hue/Saturation, the Color Replacement Tool and Selective Color and Replace Color command. You have different tools, each tool has its advantages and will use it depending on the type of image and what we want to achieve.
Why Need to Do Color Change?
We need to change the color of our photos for various reasons. Here are some of the most common reasons:
- Product photography: Instead of taking a photo of every color of a product, we can take one photo and use Photoshop to create different color variations.
- Branding and logos: Logo colors often need to be adjusted to match a company’s brand colors exactly.
- Creative design: Posters, thumbnails, and social media graphics often require different colors, which we can instantly change in Photoshop.
- Error correction: Sometimes colors look unnatural due to camera or poor lighting, so we can fix it with color correction.
- Rebranding projects: Old photos need to be changed to match a new theme or brand identity.
For these reasons, designers, photographers, and marketers regularly look for the best way to replace colors in Photoshop.
How Color Change Will Work?
In Photoshop, the color replacement comes with a range of Hue, Saturation and Lightness but it works on selecting a specific color range. Put simply — first, Photoshop selects your target color to modify, then it locates each pixel with that same color and finally replaces it with the new chosen color. This process can also be achieved non-destructively, without damaging your original image. This is accomplished using an Adjustment Layer, which means that you can revert the adjustment at a later time as required.

How to Change Color in Photoshop—Step-by-Step Method
Now let’s get to find out the magical trick. Below are the exact steps to replace a color easily.
Step 1: Open Your Image in Photoshop
First, open the photo that wants to change the color. Click File, then Open, and select your image.
Step 2: Add a Hue/Saturation Adjustment Layer
Look at the bottom of the Layers panel, click the Adjustment Layer icon, and choose Hue/Saturation. This will help you to adjust the color in a new layer without touching your original image.
Step 3: Select the Specific Color
At the top of the Hue/Saturation panel, there’s a dropdown that says “Master.” From here, you will pick your desired color range, such as Reds, Blues, or Yellows. You can also use the eyedropper tool to select the exact color you want. Just select the eyedropper tool and touch the desire color.
Step 4: Drag the Hue Slider to Change the Color
Now you can move the slider left or right to select the color. You can also fine-tune the Saturation and Lightness sliders to adjust how bold or bright the new color looks.
Step 5: Check the Result and Save
When you feel that you select your perfect color, check it clearly so that now everything looks natural. Then click File on top, choose Export or Save As, and save your final image.
Changing the Color of a Specific Area with Select and Mask
Sometimes you only need to change the color of one specific part of an image — like part of someone’s clothing, or just the hood of a car. In these cases, the most controlled approach is to select that specific area first and then change its color.
Steps:
- Use the Quick Selection Tool or Lasso Tool to select the area whose color you want to change.
- For a more precise selection, click Select and Mask at the top and smooth out the edges.
- Once the selection looks right, add a Hue/Saturation or Color Balance adjustment layer — this will only affect the selected area.
- Drag the sliders to set the color you want.
Example: An e-commerce seller has a photo of a pair of shoes and wants to create 5 different color variants using the same image. With this method, they can select just the leather part of the shoe and easily create red, blue, green, black, or white versions — all from a single photo.
How Do You Use the Color Replacement Tool in Photoshop
Besides Hue/Saturation, Photoshop also has a dedicated Color Replacement Tool, which is even easier to use, especially for smaller areas.
- Find the Color Replacement Tool in the toolbox, grouped under the Brush Tool.
- Choose your desired new color as the Foreground Color.
- Set your brush size and paint directly over the area you want to change.
- Photoshop automatically keeps the texture and shading intact while replacing just the color.
This tool works great for small details, like changing eye color or updating one part of a product photo.
Common Mistakes to Avoid
- Selecting the wrong color range and accidentally changing the whole image.
- Editing directly on the original layer instead of using an Adjustment Layer, which risks damaging the photo.
- Increasing Saturation too much, making the image look unnatural.
- Skipping the zoom-in check, which can leave small areas untouched.
Conclusion
Recoloring in Photoshop is, believe it or not, quite straightforward if you can use the correct tools and techniques. After reading this blog you will know how-to-change colors in a very simple way. Whether you use Hue/Saturation, the Color Replacement Tool or Selective Color as long as they are used in a proper way, it is possible to alter any type of color from an image in just a few clicks. Eventually with practice, you will be very sure on which tool to use for good results. First thing, Try this on a basic and plain image then when you know all the tools and their usage try doing it with a complex image.