
How Do You Change a Background Color in Photoshop?
- Mark Mendoza
- August 29, 2026
- Tags: background change, change background color, color change
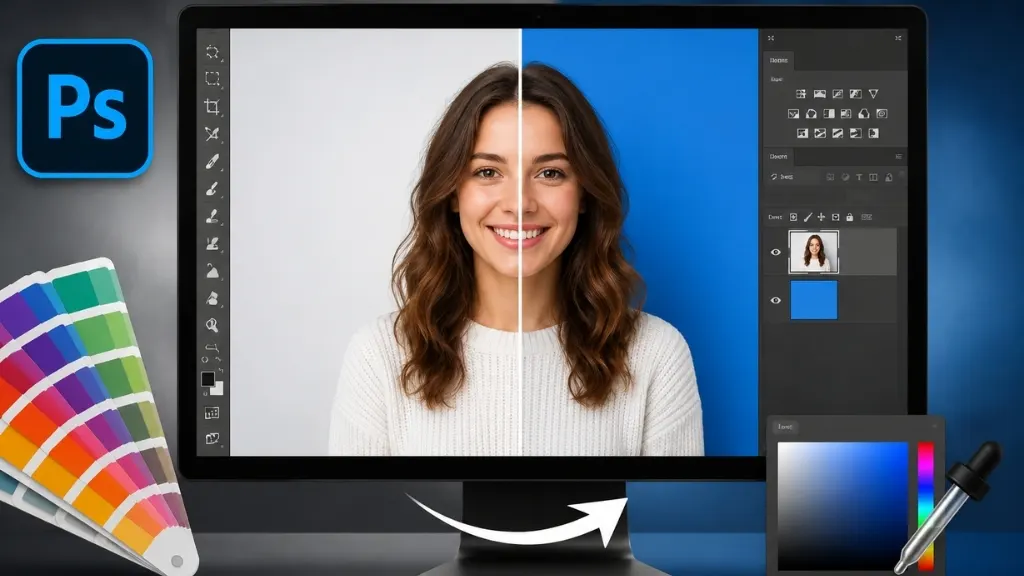
The ability to change a background color in Photoshop is a valuable skill for photographers, designers, marketers/or eCommerce sellers or anyone wanting to make a photo look better. You can remove a distracting background, do some white to another colour background changes, create transparent backgrounds or full product photo changer!
The good news you don’t need that expertise in Photoshop for doing it. Photoshop has a number of selecting tools that you can use for changing background without refraining the main object.
In this tutorial post, We are going to show you how do you change a background color in Photoshop easily by several methods which involve Photoshop Remove Background feature, Select and Mask and Fill Color Layer or Hue/Saturation adjustment.
Method 1: Change the Background Color Using Remove Background
This is one of the easiest methods for beginners because Photoshop can automatically identify the main subject.
Step 1: Open Your Image
Open Photoshop and select:
File → Open
Choose your image and click Open. Your image will appear in the Photoshop workspace.
Step 2: Unlock the Background Layer
Look at the Layers panel. If your image appears as a locked Background layer, click the lock icon to unlock it. You can also double-click the Background layer and rename it if needed. Keeping your original image editable is useful because you may need to adjust the selection later.
Step 3: Remove the Existing Background
With the image layer selected, open the Properties panel.
Under Quick Actions, select:
Remove Background
Photoshop will automatically detect the main subject and remove the surrounding background. Depending on the image, Photoshop may create a layer mask around the subject.
Step 4: Create a Solid Color Fill Layer
Now create the new background.
Go to:
Layer → New Fill Layer → Solid Color
Give the layer a name such as New Background and click OK.
A Color Picker window will appear.
Choose the color you want and click OK.
Step 5: Move the Color Layer Behind the Subject
Look at the Layers panel. Drag the new Color Fill layer below your subject layer. Your new color will now appear behind the subject.
For example, you can use:
- White for product photography
- Light blue for portraits
- Green for creative designs
- Light gray for professional photos
- Brand colors for marketing images
Method 2: Change Background Color Using Select Subject
If you don’t want to use Remove Background, Photoshop’s Select Subject feature gives you more control.
Step 1: Select the Subject
Open your image and select:
Select → Subject
Photoshop will automatically detect the main subject. You’ll see a selection outline around the subject.
Step 2: Refine the Selection
Automatic selections aren’t always perfect. If Photoshop misses part of the subject, use the selection tools to add it.
You can use:
- Quick Selection Tool
- Object Selection Tool
- Lasso Tool
For hair and complicated edges, choose:
Select → Select and Mask
This opens a workspace where you can refine the edges.
Step 3: Create a Layer Mask
After refining your selection, choose Layer Mask. Photoshop will hide the original background while keeping the subject visible. The advantage of using a layer mask is that you can correct mistakes later without permanently deleting pixels.
Step 4: Add Your New Background Color
Create a new Solid Color Fill layer:
Layer → New Fill Layer → Solid Color
Choose your preferred color. Then move the Color Fill layer below the subject layer. That’s it. Your subject now has a new background color.
Method 3: Change a White Background to Another Color
If your image already has a plain white background, you may not need to completely remove it. One simple approach is to use the Magic Wand Tool.
Step 1: Select the Magic Wand Tool
Choose the Magic Wand Tool from the Photoshop toolbar. You can also press W and select it from the available tools.
Step 2: Click the White Background
Click on the white area surrounding your subject. Photoshop will select pixels with similar colors. Adjust the Tolerance value if necessary. A lower tolerance selects a narrower range of colors, while a higher tolerance selects a wider range.
Step 3: Refine the Selection
If some areas aren’t selected, hold Shift and click those areas to add them to the selection.
Be careful around:
- Hair
- Transparent objects
- White clothing
- Glass
- Fine edges
Step 4: Add a Color Fill
With the background selected, create a new Solid Color Fill layer. Choose your desired color. Photoshop will apply the color to the selected background. For a non-destructive workflow, using a mask is generally better than directly filling the original pixels.
Method 4: Change an Existing Colored Background
Sometimes you don’t need to remove the background. You simply want to change its existing color. For example, you might have a red background and want to make it blue. In this situation, Hue/Saturation can be a quick solution.
Step 1: Select the Background
Use the Object Selection Tool, Magic Wand Tool, or another suitable selection tool to select the background.
Step 2: Add a Hue/Saturation Adjustment Layer
Go to:
Layer → New Adjustment Layer → Hue/Saturation
Click OK.
The Properties panel will show Hue/Saturation controls.
Step 3: Adjust the Hue
Move the Hue slider until you reach the color you want.
You can also adjust:
- Saturation to control color intensity
- Lightness to make the color lighter or darker
This method works particularly well when the original background has a relatively consistent color.
Final Thoughts
The ways to change a background color in photoshop is not that difficult. Select Subject, Layer Masks and Solid Color Fill layers are the staples you will need in most images.
It can take as little as a few minutes, if Photoshop chooses the subject correctly. When dealing with tough hair or see-through items or complicated backgrounds, take more time to mask it than trying to fix what comes out.
The main benefit of layers and masks is: you can easily change the background color one more time without any trouble to your origin photo.
Add Your Heading Text Here
Yes. You can select the subject, separate it from the original background, and place a Solid Color Fill layer behind it.
Select the white background with the Magic Wand or another selection tool, then use a Solid Color Fill layer or a Hue/Saturation adjustment to apply the new color.
Yes. Photoshop includes automatic background removal through its Remove Background feature. The quality depends on the image, so you may need to refine the mask manually.
Separate the person from the background using Select Subject or another selection method. Then place the new color on a separate layer underneath the person.