How to Unblur a Photo: Simple Ways to Fix Blurry Pictures
- August 23, 2026
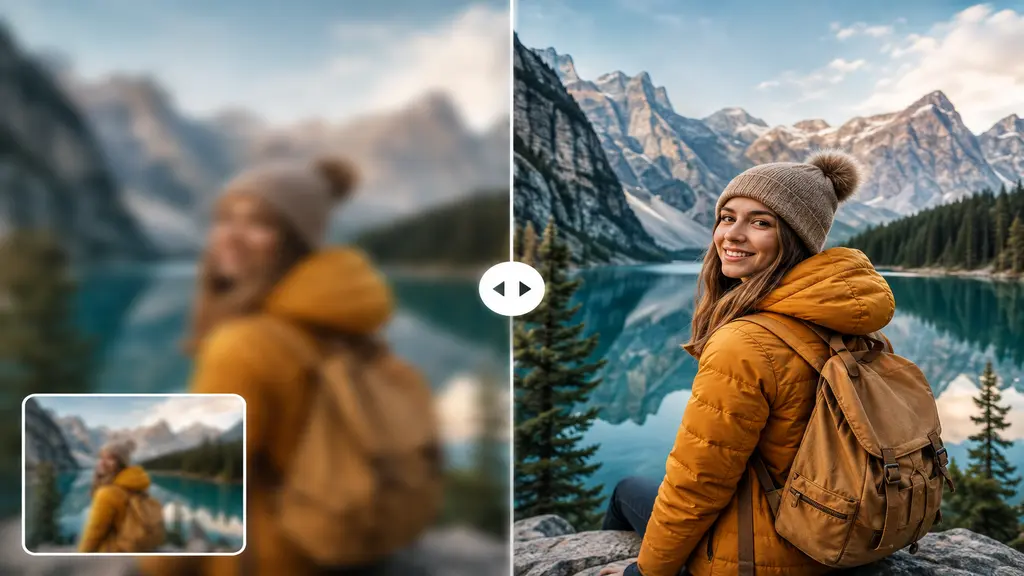
So you just opened an old photo and… yeah, it’s blurry. Not slightly soft — actually hard to make out faces or details. Could be low light, a shaky hand, wrong focus, or just an old low-res file. Whatever the reason, you’re here because you want to know how to unblur a photo, and honestly, there are more ways to fix this than most people realize.
Blurry photos happen to literally everyone. Even professional photographers mess up focus sometimes. The point is, you don’t need to throw the photo away or accept it as unusable. This guide covers how to unblur a photo step by step — phone apps, free web tools, Photoshop, all of it — whether you’re fixing a family memory or a product shot for your online store.
What is a Blurry Photo?
Quick answer: a blurry photo is one where fine detail — edges, textures, small features — look soft or smeared instead of crisp.
A few things usually cause it:
- Camera shake – Your hand moved a little while the shutter was open. Super common in dim lighting.
- Motion blur – The subject moved, not the camera. Think running kids, moving cars, pets that won’t sit still.
- Wrong focus point – Camera locked onto the background instead of your subject (or the other way around).
- Low resolution – Old scans, screenshots, heavily compressed files. They just don’t have enough detail to begin with. If low resolution is the main problem, you can also learn how to make an image higher resolution and recover more usable detail.
- Bad upscaling – Stretching a small image bigger without the right tool almost guarantees blur.
Why does this matter? Because the fix you need depends entirely on which one of these caused the blur in the first place. Sharpening tools won’t do much for heavy motion blur, for example.
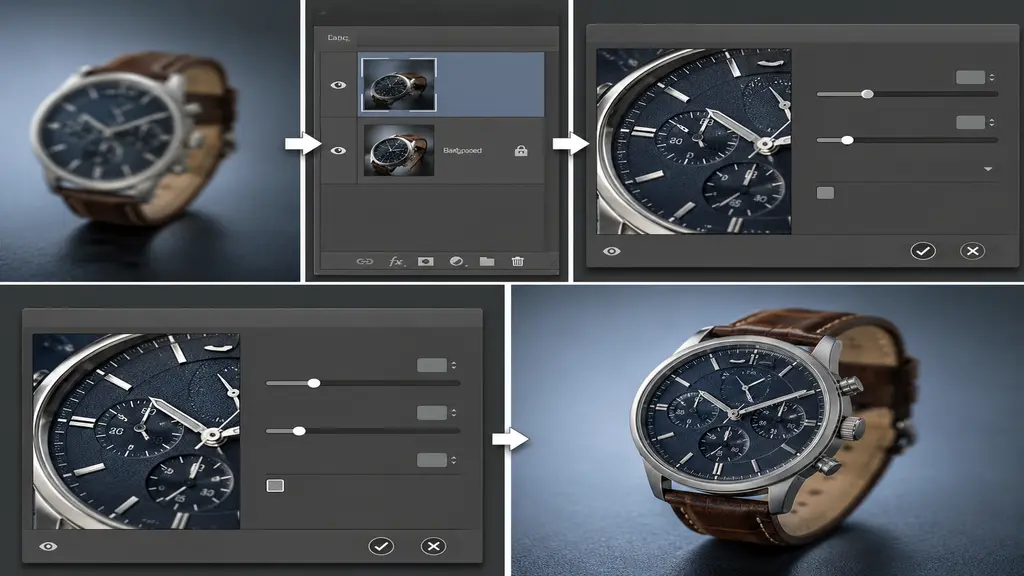
Unblur a Photo in Photoshop
Photoshop still gives you the most control here. For mild to moderate blur, this works well:
- Open the image, duplicate the layer.
- Go to Filter > Sharpen > Smart Sharpen.
- Move the Amount and Radius sliders slowly — push too hard and you get a harsh, artificial look with visible noise.
- Optional second pass with Unsharp Mask, kept subtle.
- Zoom to 100% and check the edges before you save anything.
This won’t rescue a photo that’s badly out of focus. But for slightly soft images? It brings back real, noticeable detail. You can also check our guide on how to make a photo less blurry for more simple ways to improve blurry images. Product photographers use this exact process almost daily to fix minor focus slips before listing images online.
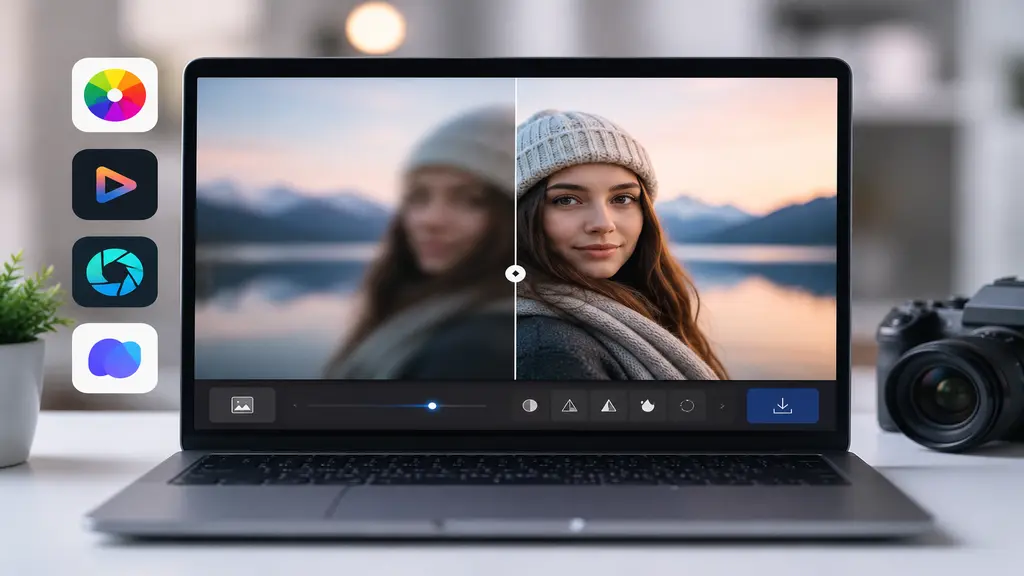
Unblur a Photo Online for Free
Don’t have Photoshop? You don’t really need it for most cases. A few free browser tools handle this fine:
- Fotor – One-click Sharpen tool, plus AI deblur made for portraits and product shots.
- VanceAI – Detects the type of blur automatically and applies a matching fix.
- Pixlr – Manual sharpening controls, similar feel to Photoshop, zero cost.
- Let’s Enhance – Good pick for old, low-res photos since it combines upscaling with detail recovery.
Upload, process, download — under a minute in most cases. No installs, no learning curve.
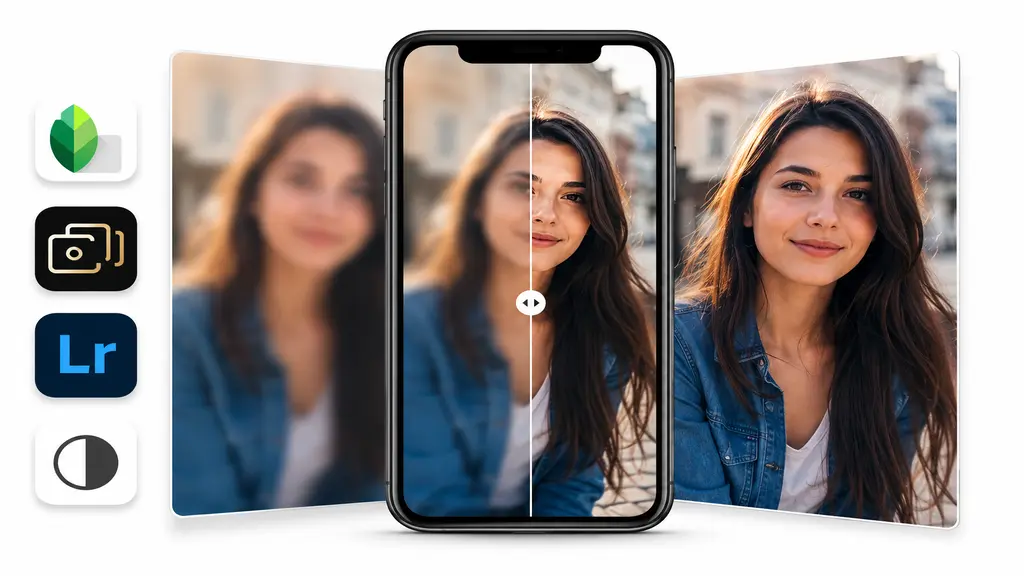
Unblur a Photo on Your Phone
Most of us take and store photos on our phones anyway, so fixing them right there makes sense.
- Snapseed – The Details tool has a Sharpen slider that works surprisingly well on casual shots.
- Remini – Built for AI-based face and detail enhancement. Popular for old or grainy pictures.
- Adobe Lightroom Mobile – Desktop-level sharpening controls, free with a basic account.
- Your phone’s built-in editor – Both iPhone and Android have basic sharpen/clarity sliders tucked into the edit menu.
For everyday snapshots, this is honestly all most people need. No computer required.
Mistakes to Avoid
A lot of people make their photo worse while trying to fix it. Watch out for these:
- Over-sharpening – Push the slider too far and you get a grainy, unnatural halo around every edge.
- Ignoring the actual cause – Sharpening a photo with heavy motion blur rarely helps much. That needs a different fix entirely.
- Skipping the resolution check – Trying to sharpen a tiny, low-res image just makes the pixelation more obvious, not less. If your image already looks blocky or pixelated, learn how to fix pixelated photos for better ways to improve the image.
- Using the wrong tool – AI deblur tools shine on faces and portraits. Manual sharpening works better on product or landscape shots.
Get these basics right and you’ll save yourself a lot of frustration — this is honestly where most people give up halfway.
When to Hire a Photo Editor
Sometimes a photo is too far gone for DIY tools, and that’s fine — not everything can be saved with a slider. This comes up a lot with old family pictures, badly out-of-focus shots, or product images where quality genuinely affects whether something sells.
This is where a professional team makes a real difference. At Clipping Creation India, our editors don’t rely on automatic filters alone — they manually rebuild lost detail, fix focus problems, and clean up noise while keeping the image looking natural instead of fake-sharpened.
And if the photo also needs a clean background — say, for an eCommerce listing — our background removal service pairs really well with the restoration work. A lot of our clients actually need both done at once: sharp subject, clean background, ready to upload straight to the store.
How to Prevent Blurry Photos
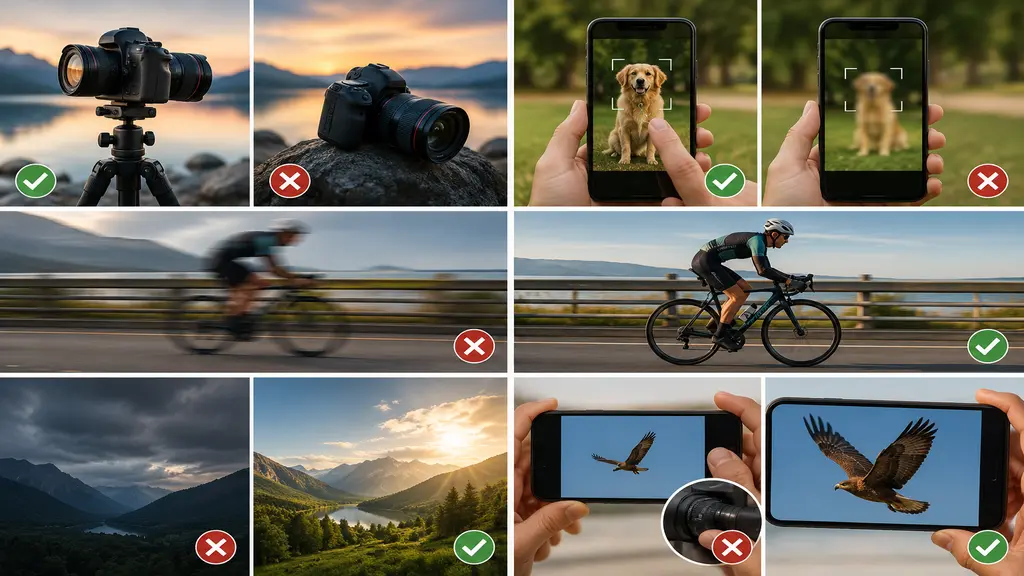
Fixing blur after the fact works, but avoiding it in the first place saves you the editing time altogether.
- Use a tripod or steady surface for low-light shots — cuts down on camera shake.
- Tap to focus on your subject before you shoot.
- Bump up shutter speed for anything moving.
- Shoot in good light when you can — low light forces slower shutter speeds, and that’s where blur creeps in.
- Skip digital zoom — it stretches pixels and softens detail before you’ve even taken the photo.
Small habit changes here go a long way toward getting sharp photos straight out of the camera, no editing needed.
Conclusion
Blurry photos aren’t a dead end. Whether it’s an old family picture or a product shot that needs to look sharp for your store, there’s a fix that fits. Free phone apps and browser tools handle light blur just fine. Photoshop gives you more control for the trickier cases. And for photos that really matter — business or eCommerce images especially — a professional editing team gets results DIY tools just can’t match.
Got product photos that need sharpening and a clean background together? Reach out to Clipping Creation India. We handle both in one go, so your images are ready to publish without the back-and-forth.