
How to Make a Clipping Path in Illustrator: A Step-by-Step Guide
- July 28, 2026
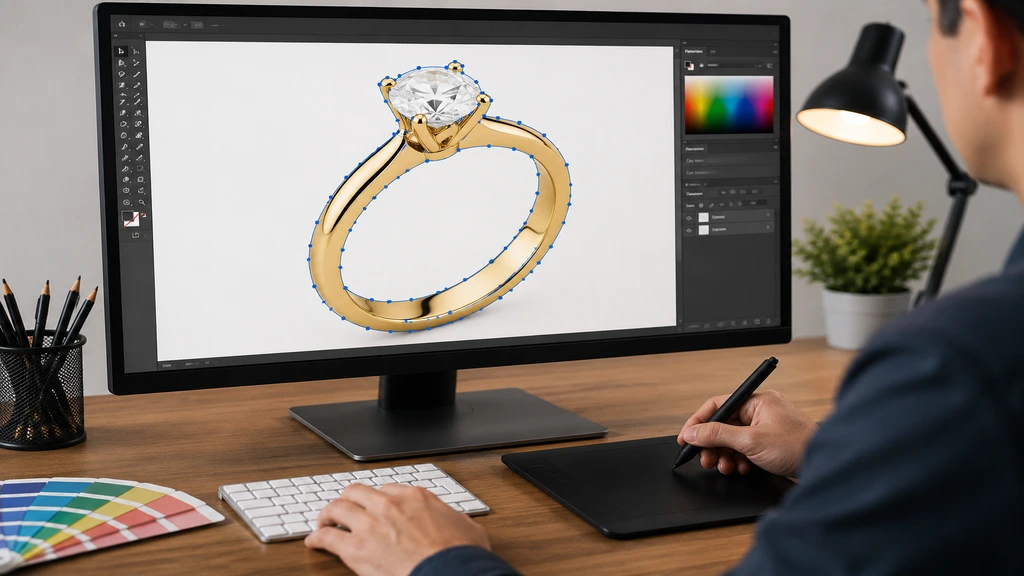
Let’s just get into it. How to make a clipping path in Illustrator sounds like some advanced designer-only skill, but really it’s just drawing a shape around a photo so only what’s inside that shape shows. Everything outside gets hidden, gone, invisible. That’s the entire concept. Every crisp, spotless product photo you’ve ever scrolled past on an online store, chances are somebody sat there for ten or fifteen minutes with the Pen tool doing exactly this. No magic. Just patience and a steady hand, mostly. This is the version people actually follow, not the polished textbook explanation you get elsewhere.
Why Not Just Erase the Background?
I get this question a lot, so let’s clear it up. If you erase a background in something like Photoshop, you’re stuck with whatever resolution you erased at. Zoom in later and the edges look rough, sometimes really rough, like someone used scissors instead of a mouse. A clipping path avoids all that because it’s vector-based, meaning the edge stays sharp no matter how big or small you scale the image. It’s also non-destructive, so you can adjust the shape whenever, without ever touching the photo underneath. Clients change their minds about ten times a project, so this saves a lot of headaches later.
There’s also the resizing problem nobody thinks about until it bites them. A catalogue photo might need to be small on one page and huge on a banner ad the next week, and an erased background just can’t keep up with that. A path scales along with it, no quality loss, no re-editing from scratch. Once you’ve redone the same erase job three or four times for different placements, the vector approach starts making a lot more sense.
What You Need Before Starting
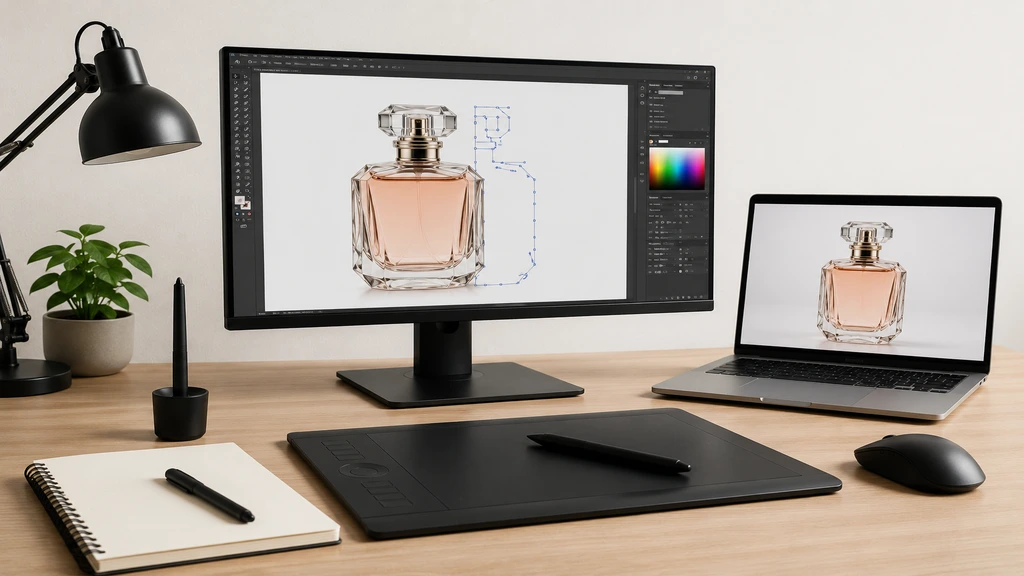
Not much, really. Illustrator, for one, and any version from the past several years is fine since the Pen tool hasn’t changed. A photo with clean edges helps a lot when you’re starting out, jewelry, bottles, packaged goods, that sort of thing. Save hair and fur for later, way later. You’ll also need patience, since your first attempt is going to look a little rough around the edges, literally, and honestly that’s fine, everybody’s first one does. And get used to zooming in constantly, Ctrl or Cmd plus, spacebar to pan, you’ll be doing that a hundred times per image.
A tablet and pen isn’t necessary either, in case you were wondering, most professionals trace with a plain mouse and get on fine. What actually matters more is a decent-sized monitor, since squinting at anchor points on a cramped 13-inch laptop screen gets old fast. And if you can, grab a photo that’s already well-lit with a plain background before you start practicing. Trying to learn the Pen tool and fix bad lighting at the same time is just asking for frustration.
How to Make a Clipping Path in Illustrator: Step-by-Step
Step 1: Place the Image and Lock It
Go to File, then Place, and drop your photo into a new document. Once it’s sitting where you want it, lock that layer through Object, Lock, Selection. Skip this, and at some point you’ll drag the whole photo three inches while trying to trace an edge. It happens. It happened to me on my second week doing this, actually, I dragged an entire watch photo clean off the artboard mid-trace.
Step 2: Add a New Layer for the Path
Create a fresh layer above the photo. Draw the path there, not directly on the image. That way you can hide it, change its stroke color so it’s easier to see, or scrap a bad section and start over, all without touching the original picture.
Step 3: Trace the Edges With the Pen Tool
Here’s the actual work. Grab the Pen tool, click an anchor point somewhere on the edge, and work your way around the outline. Straight sections, just click. Curves need a click-and-drag, which pulls out little handles you nudge until the curve matches what’s underneath. Go slow on corners. That’s genuinely where almost every mistake happens, every time, no exceptions.
Step 4: Close the Path
Once you’ve traced the whole way around, click back on your very first anchor point. A tiny circle shows up next to the cursor when you’re lined up correctly, that’s your cue. This closes the loop. Miss this step and the mask just won’t work later, no error message, it’ll just quietly fail.
Step 5: Select the Path and the Image Together
Unlock the photo layer again. Select both the path and the image, shift-click works fine, or drag a box around both if they’re sitting on separate layers.
Step 6: Apply the Clipping Mask
Both selected, go to Object, Clipping Mask, Make. Or just hit Ctrl or Cmd plus 7. Everything outside your path disappears right away. What’s left is a clean cutout, transparent background, ready to go wherever it needs to go.
Mistakes That Happen Constantly
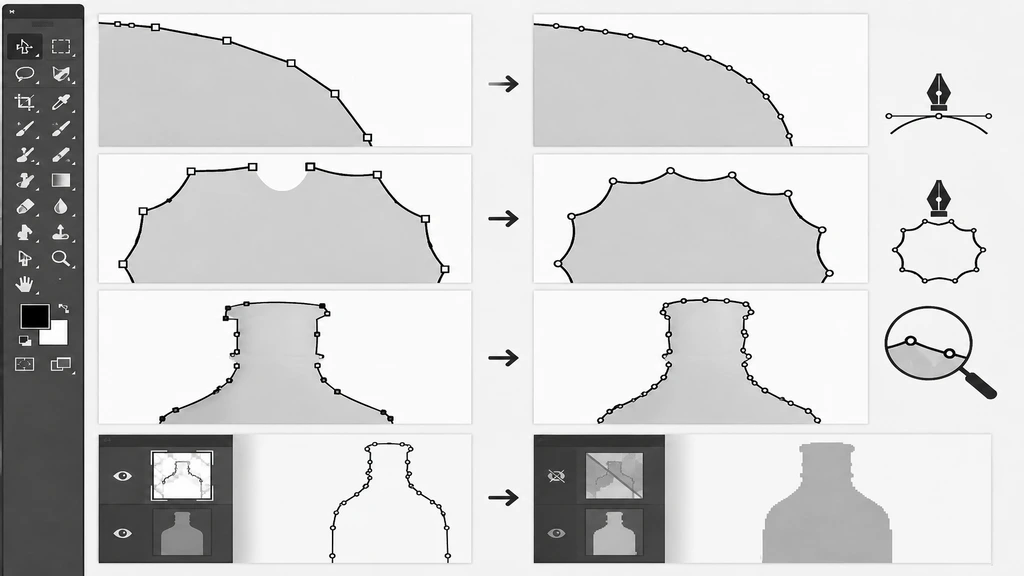
Too few anchor points on curves is probably the most common one, the shape ends up looking blocky instead of smooth. Forgetting to close the path fully is another, easy to miss when you’re zoomed out, and it breaks everything downstream. Tracing while zoomed too far out means missing small details you’ll have to fix later anyway, which is more frustrating than it sounds. And skipping a backup with the path still intact, flatten too early and one client request means redoing the whole thing from scratch.
When Outsourcing Actually Makes Sense
Doing one clipping path yourself, sure, no issue. Doing three hundred by Friday, all needing to look identical in quality, that’s a completely different job. A few signs it’s probably time to hand it off instead of grinding through it alone:
- The volume just isn’t realistic anymore: Twenty images a week is manageable solo. Two hundred a week is a full-time job on its own, and something else in your business will start slipping if you try to do both.
- Consistency is starting to slide: When you’re rushing through a big batch late at night, edges get sloppier than they were on image number five. Clients notice that kind of thing even if they can’t explain what looks off.
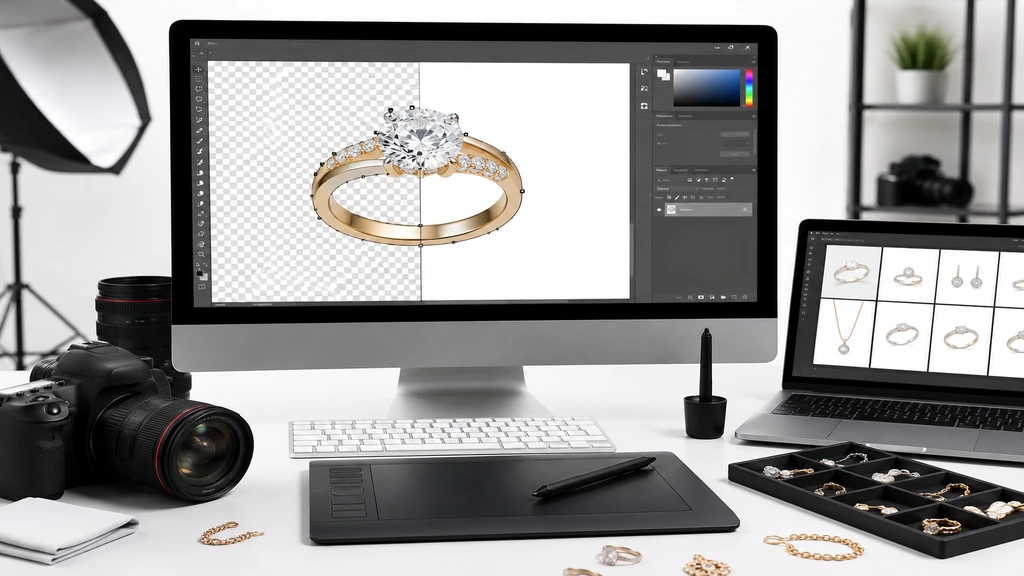
- The subjects are genuinely fiddly: Jewelry with tiny prongs, chains, or clusters of stones takes real practice to get right every time, and one bad path in a batch of fifty sticks out badly.
- Your time is worth more doing something else: If you’re a photographer or store owner, hours spent tracing Pen tool anchors are hours not spent shooting, selling, or actually running the business.
This is exactly the kind of repetitive, detail-heavy work agencies like Clipping Creation India take on regularly, bulk clipping paths for catalogs, jewelry with fiddly little edges, product shots that all need to match across one listing page. Past a certain volume, it just makes more sense financially to hand it off than to burn your own hours on it.
Conclusion
Do it enough times and how to make a clipping path in Illustrator stops feeling like some obscure designer trick and just becomes part of your normal workflow. Lock the image, draw the path on its own layer, trace it carefully, close the loop, apply the mask. Start with something simple. The harder subjects get easier once the basics feel automatic, which doesn’t take nearly as long as you’d think. And when the workload piles up faster than you can manage it, a service like Clipping Creation India can take the repetitive parts off your plate entirely.
