How to Remove White Background from Image: A Complete Beginner’s Guide
- August 27, 2026
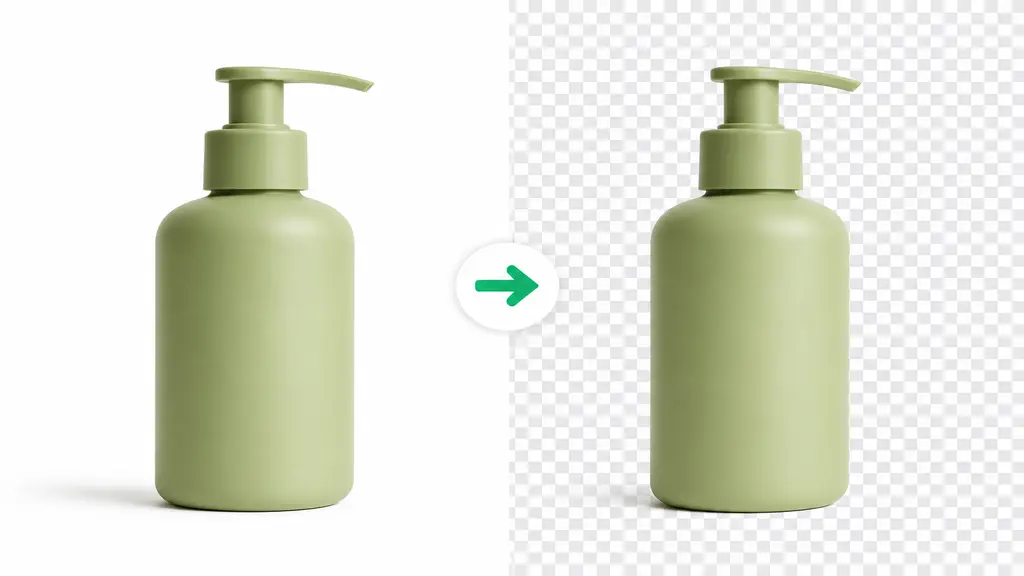
Ever uploaded a product photo and thought, why does this white background look so messy? You’re definitely not the only one. Honestly, knowing how to remove white background from image files is one of those small skills that saves a lot of headache, whether you’re selling on Amazon, running a small online shop, or just tired of pictures that look flat next to everyone else’s.
There’s no single “right” way either. Some people grab their phone and use an app. Others sit down in Photoshop for an hour and get lost in it. And a lot of store owners, once their catalog grows past a certain point, just give up and outsource the whole thing. We’ll go through all three below, so pick whichever one actually fits your situation right now.
What Is Background Removal?
Put simply, it’s separating whatever you’re photographing (a shoe, a necklace, a person, doesn’t really matter) from everything sitting behind it. Once that background’s gone, you can leave it transparent, drop in a solid color, or place the subject on a totally different scene entirely. If you specifically want to make the background transparent, check our guide on how to make an image transparent.
People mix this up with cropping a lot. Cropping just trims the edges of a photo. It doesn’t touch anything inside the frame. Background removal is different — it actually cuts the subject out, pixel by pixel, so you’re free to reuse it wherever you want later on.
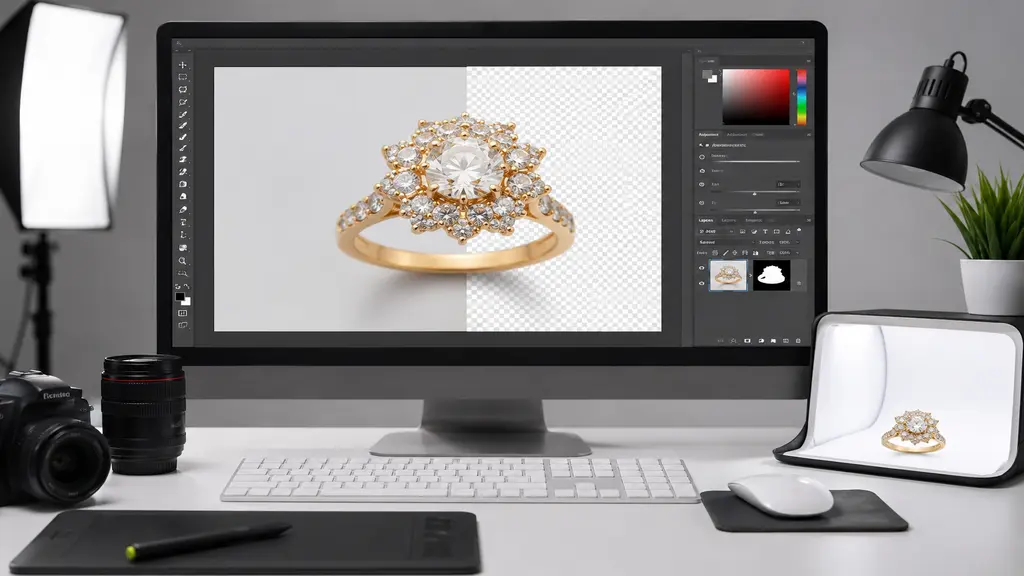
Why Remove a White Background?
People land on this topic for a bunch of different reasons. A few keep showing up, though:
- Marketplaces like Amazon and eBay are strict here. Pure white or transparent backgrounds are basically required if you want your listing to even get approved.
- Got photos shot in ten different lighting setups because your last three product shoots didn’t match? Removing the background and giving everything the same backdrop fixes that instantly, and your store suddenly looks a lot more put-together.
- Print work needs it too. Flyers, catalogs, banners — they all want the subject isolated so a designer can drop it into whatever layout without fighting a messy background.
- And once the background’s out of the way, adding shadows or swapping colors later is just… easier. You’re not wrestling with the old one anymore.
Remove the Background by Hand
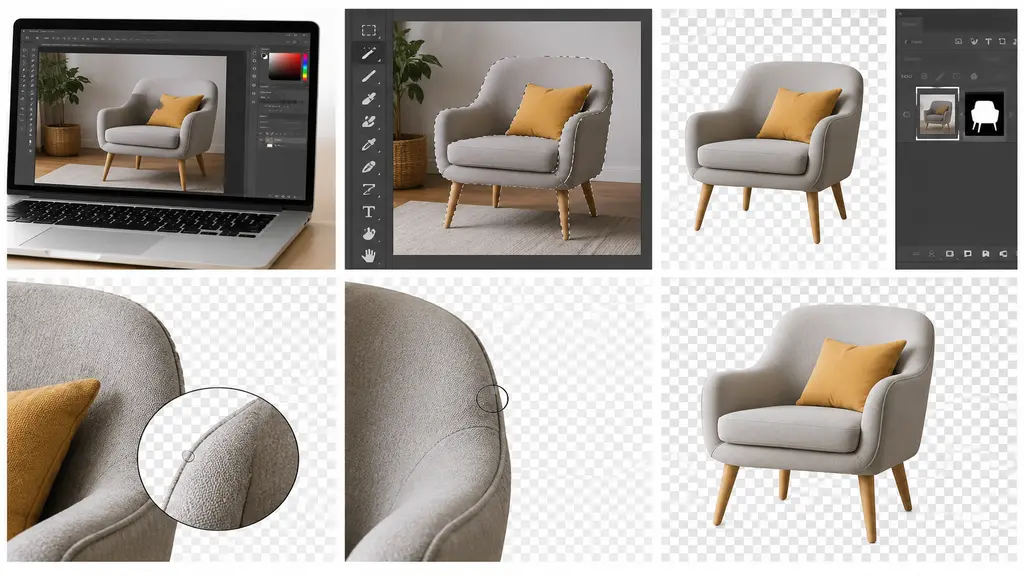
If you’ve only got a handful of photos, doing this by hand really isn’t a bad option. Roughly, here’s how it goes:
- Open the photo in whatever editor you’ve got. Photoshop, GIMP, even Canva works fine for simple shots.
- Pick your subject out with the lasso, pen tool, or magic wand — whichever one works best just depends on how clean the edges are. For products with clean, defined edges, you can also learn more about using a clipping path service for precise background removal.
- Once it’s selected, either delete the background outright or add a layer mask so it turns transparent.
- Zoom way in and fix the edges. Honestly, this step is where most people get stuck. Stray pixels around hair or fur tend to stick around if you rush it. For tricky edges like hair and fur, image masking can provide more natural and precise results.
- Export it as a PNG. Skip this and the transparency won’t actually save.
Sounds easy enough written out like that. In practice, the edges are what eat up your time — hair, glass, textured fabric, all of it. A plain box sitting on a white table? Five minutes, maybe less. A model’s hair against a busy backdrop? Could take a good half hour if you’re being careful.
Best Free Background Removal Tools
Not everyone’s got the patience to open Photoshop just to remove one background. Fair enough, honestly. A few tools worth trying instead:
- remove.bg handles the whole thing automatically in a few seconds flat. Works great on simple, well-lit shots. Once the lighting gets messy though, results get hit-or-miss.
- Already designing in Canva? Its built-in background remover saves you from switching apps for something this small.
- GIMP is free, open-source, and gets you closer to Photoshop-level control once you’re past the initial learning curve — which, fair warning, takes a bit.
- Photoroom deserves a mention too, mostly for people editing product shots straight from their phone between other tasks.
These handle the easy cases just fine. Jewelry, glassware, group shots with a lot of tangled hair though — that’s still where automated tools tend to fall apart a little.
Remove Background in Photoshop
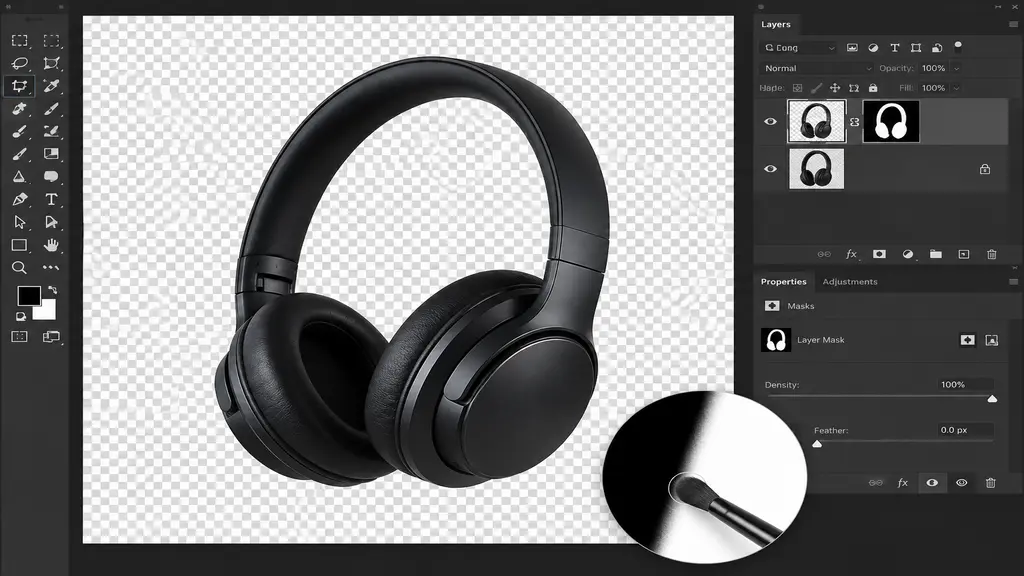
If you actually want control over the result, Photoshop’s still the standard everyone falls back on. Roughly how it goes:
- Duplicate your layer first, before touching anything. Keep an untouched original just in case you mess something up.
- Try the Object Selection Tool or Select Subject. It auto-detects the item most of the time, though not always perfectly.
- Head into Select and Mask to clean things up, especially around the tricky edges.
- Skip deleting pixels outright and add a Layer Mask instead — it’s non-destructive, so mistakes are easy to fix later.
- Grab a soft brush and touch up the mask by hand. This is usually where those annoying white halos finally disappear.
Takes some getting used to, no doubt. But once you’ve done it a dozen or so times, a single image genuinely shouldn’t take more than a few minutes of your time.
When to Hire a Background Removal Service
Doing this yourself is fine when it’s one or two photos. But once your store has hundreds of product images sitting in a folder somewhere, editing each one by hand just stops being realistic — not unless you’ve got spare hours lying around, and let’s be real, most people don’t.
That’s usually the point where it makes more sense to hand things over to a professional background removal service instead of burning your own evenings on masking tools. You get consistent results across the whole catalog, and someone who deals with the tricky stuff — hair strands, glass, reflective jewelry — every single day, rather than a tool guessing at it and getting things half right.
Conclusion
At the end of the day, learning how to remove white background from image files isn’t really that complicated. Select the subject, mask or delete what’s behind it, then go back and clean up the edges properly. Free tools work fine if you’re only doing this once in a while. Photoshop’s better if you actually want control over every little detail. And once your photo volume gets out of hand, a service just makes more sense than losing your evenings to it. Whichever route you end up picking, your photos will look a lot sharper for it — that much is guaranteed.