
How to Make an Image Higher Resolution: 8 Easy Methods
- August 27, 2026
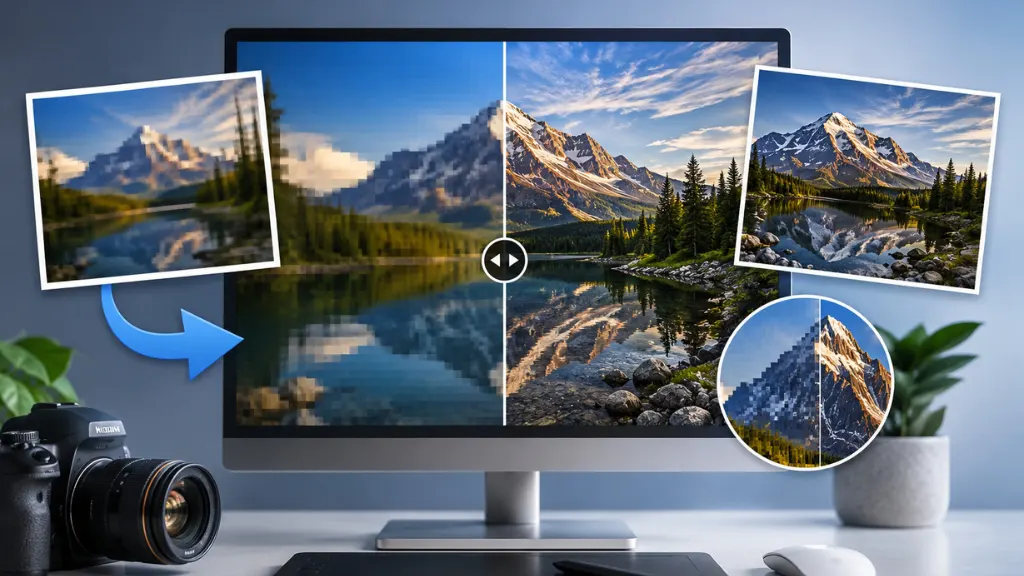
If you blow up a low-res image it might look blurry, pixelated or soft. This is something everyone faces when there is a small image that you need to include for printing, website banner, product listing, social media post or professional design. Well, that is what this post answers: How do you increase the resolution of an image? You can improve images by enhancing their pixel dimensions in combination with suitable image upscaling/enhancement tools.
But we also need to know that just increasing the size of an image won’t actually get us better quality. When an original file has little detail, increasing the size will reveal larger-size pixels. So, it largely depends on the original image and the target size that you need and amount of details in the image.
This guide will walk you through a few different methods to up the image resolution while keeping it as clear as possible.
What Does Image Resolution Mean?
Image resolution describes how much detail is contained in an image and usually expressed in pixels. An image of 800 × 600 pixels has less pixels than one with a dimension of 3000 × 2000 pixels.
The more pixels you have, the more space there will be to render an image larger. But pixels aren’t the only factor in image quality. Compression, sharpness, lighting, focus, and the original image quality are also important. Consider the example of a shots with blurry 500 × 500 image and upscaling it to 3000 × 3000 pixels, just making dimensions doesn’t bring all detail here. Hence, Image upscaling and enhancing techniques come into the play.

How to Increase Picture Resolution
There are several ways to increase an image’s resolution. The right method depends on whether you have the original image, what software you use, and how large you need the final image to be.
1. Use an AI Image Upscaler
One of the easiest ways to make an image higher resolution is to use an AI image upscaling tool. Traditional resizing mainly estimates the color of new pixels. AI-based upscalers take a different approach by analyzing patterns, edges, textures, and other visual information to create a larger version of the image.
Depending on the image, an AI upscaler may help improve:
- Facial details
- Product edges
- Hair and textures
- Clothing details
- Background elements
- Fine lines
- Overall sharpness
Lets say you have a 1000 × 1000 product Photos and you want larger one for your ecommerce website. You can use an AI upscaler to make the image larger, trying its best to keep a great amount of visual information.
However, AI enhancement isn’t perfect. If the original picture is much blurred or inextensively compressed, software can only guess to fill out the gaps. So, remember to compare your final product with original before utilizing it professionally!
2. Increase the Image Size in Photoshop
There are multiple ways to increase the image dimensions in Adobe Photoshop. The first step, Open up your image and select the image size settings. You can do that by first changing the width and height while maintaining the aspect ratio. Try an appropriate resampling method while increasing the dimensions. Photoshop can fill in more pixels using the rest of the image.
For example, you could change:
1200 × 800 pixels → 2400 × 1600 pixels
This doubles both dimensions. However, remember that increasing pixel dimensions doesn’t automatically create genuine new detail. If you need a major enlargement, an AI-based enhancement method may produce a better result than basic resizing. After resizing, you can also apply a small amount of sharpening to improve edge definition.
3. Use the Original Image Whenever Possible
If you want a high-resolution image, the best starting point is always the highest-quality original file you can find. Suppose someone sends you a compressed image through a messaging app. You download it and later try to enlarge it for a website banner.
The result may look poor because the file has already lost information through compression. Instead, ask for the original image directly from the camera, phone, or design file.
For example, compare:
- Screenshot of a photo
- Compressed social media download
- Original camera image
The original file will normally provide much more information for editing and enlargement.
Therefore, before trying advanced enhancement techniques, check whether a higher-quality source file is available.
4. Increase Resolution Without Distorting the Aspect Ratio
When resizing an image, always maintain its original aspect ratio unless you intentionally want to change its shape.
For example, if your image is:
1600 × 900 pixels
and you want a larger version, you could resize it to:
3200 × 1800 pixels
Both versions maintain the same 16:9 ratio.
If you increase the width without adjusting the height correctly, the image can become stretched or compressed.
This is especially noticeable with:
- Faces
- Products
- Buildings
- Cars
- Logos
- Human figures
Most modern image editing software includes an option to lock the aspect ratio, so make sure it is enabled before resizing.
5. Improve Sharpness After Upscaling
After increasing an image’s dimensions, the result may still look slightly soft.
In that situation, controlled sharpening can help. Sharpening increases the contrast around edges, making details appear more defined.
You can adjust settings such as:
- Sharpness
- Clarity
- Texture
- Radius
- Amount
- Detail
However, don’t overdo it.
Excessive sharpening can create unwanted halos around objects, make skin look unnatural, and introduce noise into the image. A good approach is to make small adjustments and compare the result at 100% zoom.
6. Reduce Noise Before Increasing Resolution
Low-quality images often contain digital noise, especially when they were taken in poor lighting. If you enlarge a noisy image, the noise becomes more noticeable.
Therefore, reducing excessive noise before or during the enhancement process can improve the final result.
Noise reduction can help with:
- Grainy backgrounds
- Low-light photos
- Smartphone images
- Older digital photographs
- Highly compressed images
However, excessive noise reduction can remove genuine details and make the image look overly smooth. For that reason, use moderate settings and inspect important areas closely.
7. Use a High-Resolution Export Setting
Sometimes the image itself isn’t the problem. The problem comes from how you export or save it. After editing an image, choose an appropriate file format and quality setting.
For photographs, JPEG can provide a good balance between quality and file size. However, repeated JPEG compression can reduce image quality.
PNG can be useful when you need lossless compression or transparency, particularly for graphics and images containing sharp edges.
For professional work, keep the original high-quality file and create separate versions for different uses.
For example:
- High-resolution version for printing
- Optimized version for a website
- Smaller version for social media
This approach prevents you from repeatedly editing and compressing the same file.
8. Use a Professional Image Editing Service
If the image is important for your business, simply increasing its resolution may not be enough. A professional image editing service can combine several techniques to improve the final image.
Depending on the project, an editor may use:
- Image upscaling
- Sharpening
- Noise reduction
- Color correction
- Retouching
- Background cleanup
- Detail enhancement
- Image restoration
This can be particularly useful for e-commerce businesses, photographers, real estate companies, advertising agencies, and brands that need consistent image quality across many files.
For example, if you have hundreds of old product images that need to be prepared for a new e-commerce website, professional editing can help maintain a consistent appearance across the entire product catalog.
Final Thoughts
Knowing how to make an image high-res helps upsize images without making them look overly pixelated and blurry.
When enlarging one, the simplest solution is frequently an AI image upscaler—but more rudimentary editing programs can suffice for modest increases. First of all, always start with the best quality original image you have.
And of course, resolution and image quality are not the same thing at all. If the original was low-res or if it had been compressed, too noisy, or out of focus, a bigger size is not going to do that image any favours.
Combine upscaling and sometimes sharpening with noise reduction (think film grain removal), color correction, etc. for critical commercial images. That helps you to create a larger image and although can look big, will help remain cleaner and professional without just about pixelation.