
How to Edit Photos Like a Pro: A Complete Beginner’s Guide
- July 28, 2026
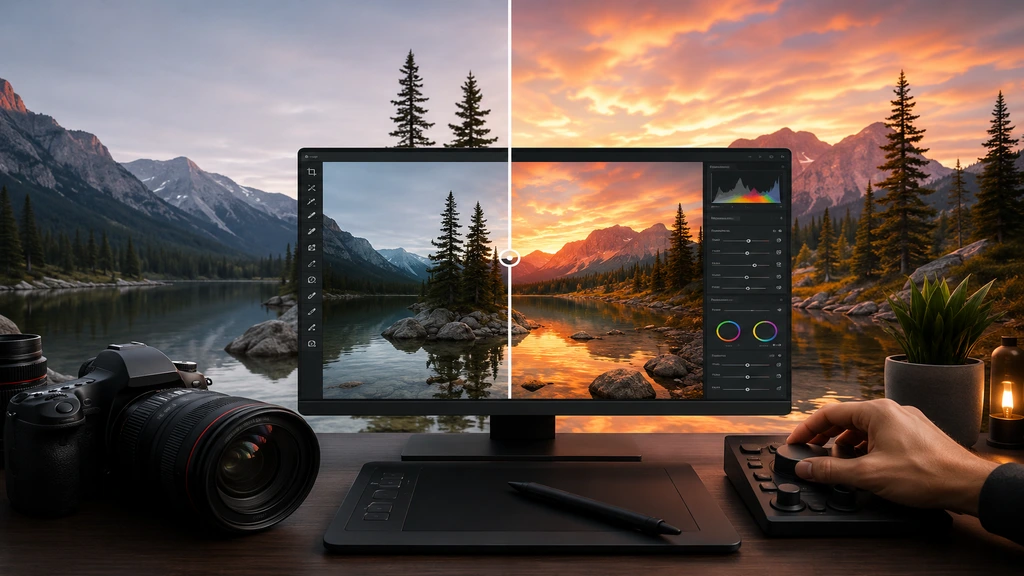
So you want to learn how to edit photos correctly, not just apply a filter and hope no one sees through it. That makes sense. Most people stop at “add contrast, add saturation, done,” and honestly, it shows. Real editing is quieter than that. It’s fixing the shadow that ate half a face, nudging a color that’s gone slightly off, cropping out the trash bin someone forgot was in frame. Doesn’t matter if you’re shooting product shots for your Shopify store, portraits on weekends, or just tired of your phone photos looking flat — the same basic logic applies everywhere. I’ll walk you through how professional editors actually approach a photo, step by step, plus a few mistakes I see constantly that quietly wreck otherwise decent images.
Why Photo Editing Matters More Than You’d Think
Nobody tells beginners this part: a photo straight off the camera is basically a rough draft. Cameras record light, not memory. They don’t know the sunset was warmer than what got captured, or that the light on someone’s face wasn’t supposed to look greenish. That gap — between what you actually saw and what the sensor spit out — is exactly what editing closes. And if you’re selling anything online, this stop being optional real fast. I’ve watched jewelry listings underperform for weeks, and the product wasn’t the problem. The photo was. Dull highlights, a slightly wrong white balance, and buyers just scroll past. Two seconds, maybe less, and they’ve already decided.
What You Need Before You Start Editing Photos
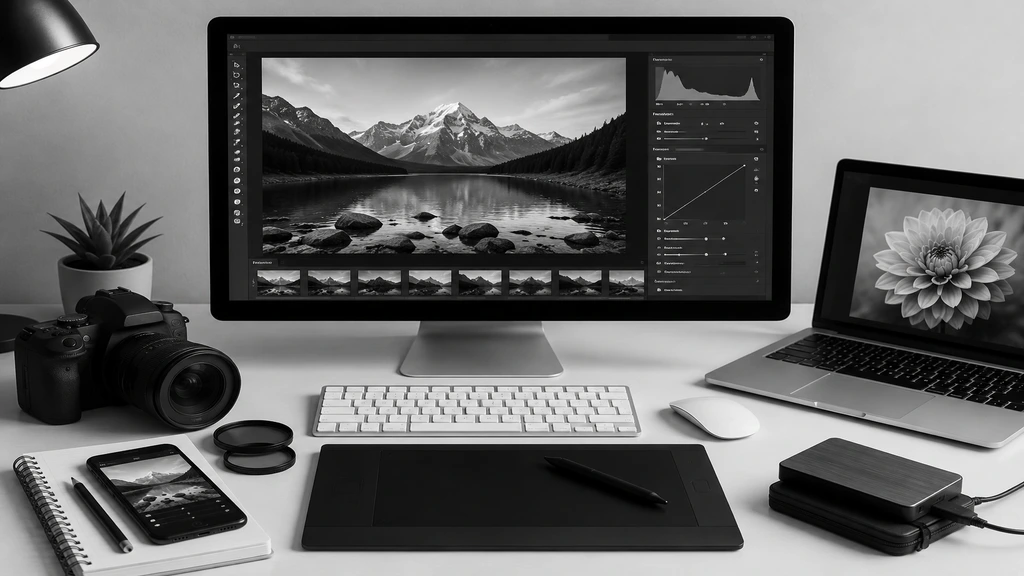
You don’t need a $2,000 monitor or the latest MacBook. A few things matter more than gear:
- Decent editing tools: While Photoshop and Lightroom offer the most control, Snapseed on mobile devices is a free option that honestly covers most of what beginners need.
- A screen you can trust: Even rough calibration helps — edit on a screen that’s too bright, and everything looks washed out the moment someone else opens it.
- Some idea of what you’re actually going for: Quick cleanup or full transformation? Pick one before you start, or you’ll waste twenty minutes going back and forth.
- The original file, untouched: Work from the highest quality version you have. Compress, edit, compress again, and detail is gone for good — no undo button fixes that.
How to Edit Photos: Step-by-Step Process
Once that’s sorted, the actual editing tends to follow a pretty similar order, whatever software you’re on.
Step 1: Fix Exposure and Lighting First
Always start here. Pull detail back from blown-out highlights, lift shadows that have gone too dark, and get the overall brightness sitting somewhere natural. Not flat, not harsh — somewhere in between that your eye doesn’t question.
Step 2: Sort Out Color and White Balance
Indoor bulbs throw orange. Overcast skies throw blue. Mixed lighting throws a mess you’ll want to strangle. Fix white balance here so skin actually looks like skin, and product colors match what buyers get in the mail — because mismatched colors are a top reason for returns, and most sellers never connect the dots.
Step 3: Crop, Straighten, Recompose
A crooked horizon bothers people even when they can’t say why. Straighten it. Cut the dead space that isn’t doing anything. Shift the frame so the subject sits where your eye actually wants to land, not wherever the camera happened to be pointed.
Step 4: Clean Up Blemishes and Distractions
Here’s where casual editing turns into something closer to professional work — dust spots, a stray hair, a reflection in a ring that shouldn’t be there, a random object in the background nobody meant to include. Healing brush, clone stamp, that sort of thing. Slower than people expect, always.
Step 5: Sharpen and Finish
Light sharpening at the end brings texture back. Double-check contrast and saturation one more time before you export. Keep this part subtle — the photo should look crisp because it was shot and edited well, not because it’s obviously been run through a filter.
Common Mistakes People Make While Editing
Even people who’ve done this for years still fall into a few of these:
- Over-sharpening: It doesn’t look clear, it looks rough and almost like static, and it’s a common mistake when you’re zoomed in too close.
- Cranking saturation way up: Colors become too bright and cartoon-like, and skin tones can turn orange without you realizing it until it’s too late.
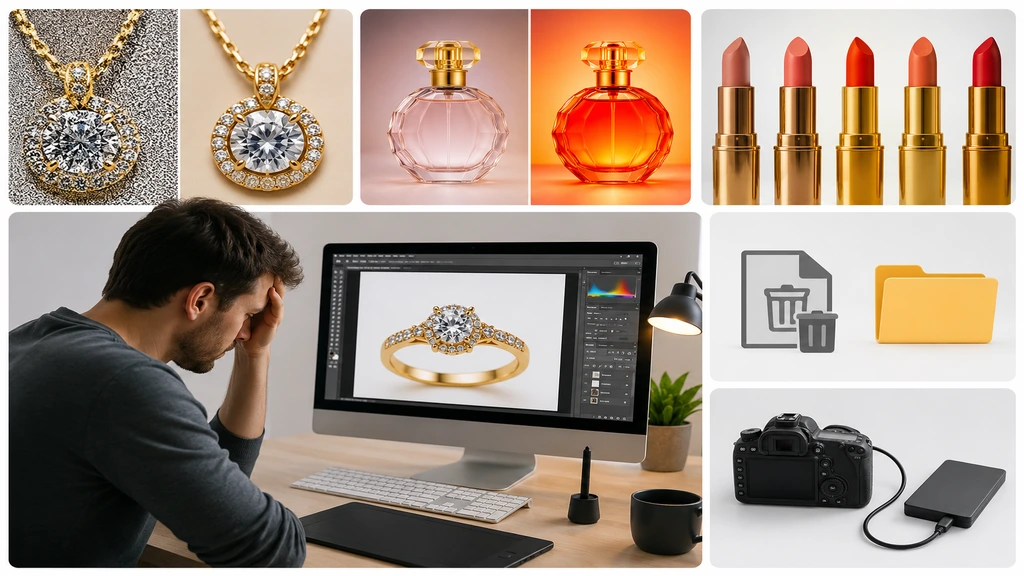
- No consistency across a batch: Editing product photos one by one without a system means your catalogue page ends up looking like five different photographers shot it.
- Never keeping a backup: Save the original before touching anything. Mistakes are a lot less scary when the source file still exists somewhere.
When It’s Worth Handing This Off to Professionals
Learning to edit your own photos is worth doing, genuinely. But some work is better left to someone who’s done it a thousand times, especially once volume enters the picture. Jewelry photography is a good example — reflective metal, tiny stones, exact color matching, none of it forgives a rushed edit, and getting it consistently right takes real practice most people don’t have time for. That’s the gap Clipping Creation India fills. Send over the raw shots, and the team handles background removal, color correction, retouching, and jewelry-specific detail work, with the same quality whether it’s twenty images or two thousand.
Conclusion
Editing is what turns a decent photo into one people actually stop scrolling for. Once the order clicks — exposure, then color, then composition, then cleanup, then sharpening — it stops feeling like guesswork. Practice on your own shots. Notice what you like in other people’s edits and try to figure out why it works. And when you’re staring down a big batch, or something specialized like jewelry retouching, it’s usually worth handing it to a service like Clipping Creation India so everything comes back looking consistent, without costing you your whole week.
